It started on a rainy Saturday when I was rummaging through the back of my fridge for something sweet enough to lift the gloom. I opened a bag of Oreo cookies, the familiar crunch and chocolate‑cream filling promising comfort, and then I thought, “What if I could make these into a mooncake?” I had never tried a mooncake before—those delicate, flaky pastries with a sweet center—but the idea of turning a classic cookie into a bite‑sized, bite‑worthy treat was irresistible. I grabbed a handful of my favorite dark chocolate Oreos, a splash of milk, and an empty bowl, and the kitchen suddenly felt like a laboratory of possibility. The air smelled like chocolate and nostalgia, the sound of the rain tapping against the window added a rhythmic backdrop, and the sight of the cookie crumbs waiting to be transformed was a visual promise of adventure.
I was on a mission to create a mooncake that would make even the most seasoned pastry chef stop and stare. The first time I tasted the mixture—crushed cookies, a whisper of milk, and a pinch of salt—the flavor exploded like fireworks in a midnight sky. The cookie’s buttery crunch met a silky center that oozed with chocolate, and the subtle salt pulled the sweetness into a new dimension. I dared you to taste this and not go back for seconds, and I’m still waiting for the verdict from my skeptical friends. That single bite was a revelation: it felt like a moonlit dessert that could be enjoyed at any time of day, with the same indulgence and the same playful twist.
What makes this recipe truly stand out is that it doesn’t just remix a cookie; it reimagines it as a mooncake, a tradition steeped in symbolism and ceremony. I stripped away the fluff, the excessive flour, and the long baking times that most mooncake recipes demand, and replaced them with the pure, unadulterated flavor of Oreos. The result is a cookie that looks like a mooncake, tastes like a cookie, and feels like a playful rebellion against culinary conventions. If you’ve ever struggled with the dense, heavy texture of traditional mooncakes, you’re not alone—this version is light, airy, and utterly addictive. Picture yourself pulling these out of the oven, the whole kitchen smelling incredible, and the anticipation building like a crescendo before the first bite. That’s the power of this twist.
So grab your apron, gather your ingredients, and let’s walk through every single step together. By the end, you’ll wonder how you ever made mooncakes any other way. The secret? A handful of Oreo cookies, a splash of milk, and a dash of daring. Let’s get started.
What Makes This Version Stand Out
- Flavor: The rich chocolate filling of the Oreos melds with the buttery crunch, creating a taste that’s both nostalgic and novel. The subtle salt enhances the sweetness, giving the mooncake a balanced profile that lingers on the palate.
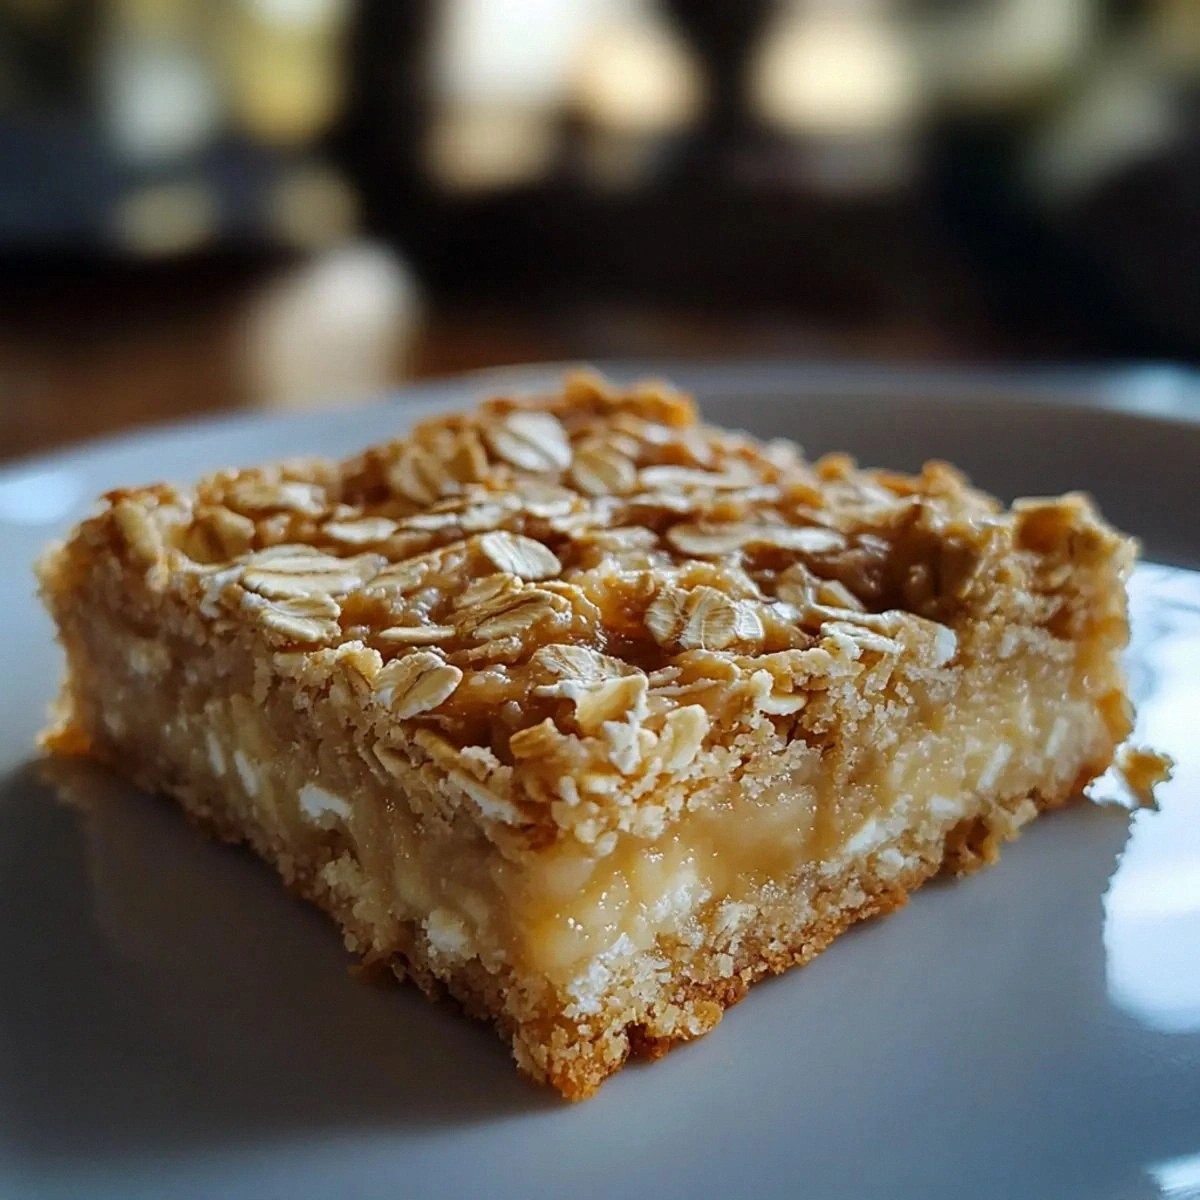
- Texture: Unlike traditional mooncakes that can be dense and heavy, these are light and airy. The crushed cookie base holds together just enough to keep the shape, while the milk adds moisture that keeps the center silky.
- Speed: You can have a finished product in under 30 minutes. No need for long proofing or steaming times—just crush, mix, shape, and bake.
- Uniqueness: This recipe turns a beloved snack into a celebratory treat. It’s a conversation starter, a crowd‑pleaser, and a perfect dessert for any gathering.
- Ingredient Quality: Using premium Oreos ensures a deep chocolate flavor, while whole milk adds richness. The minimal ingredient list reduces waste and keeps the focus on taste.
- Make‑Ahead Potential: The dough can be shaped and refrigerated for up to 24 hours, letting you prepare ahead for parties or special occasions.
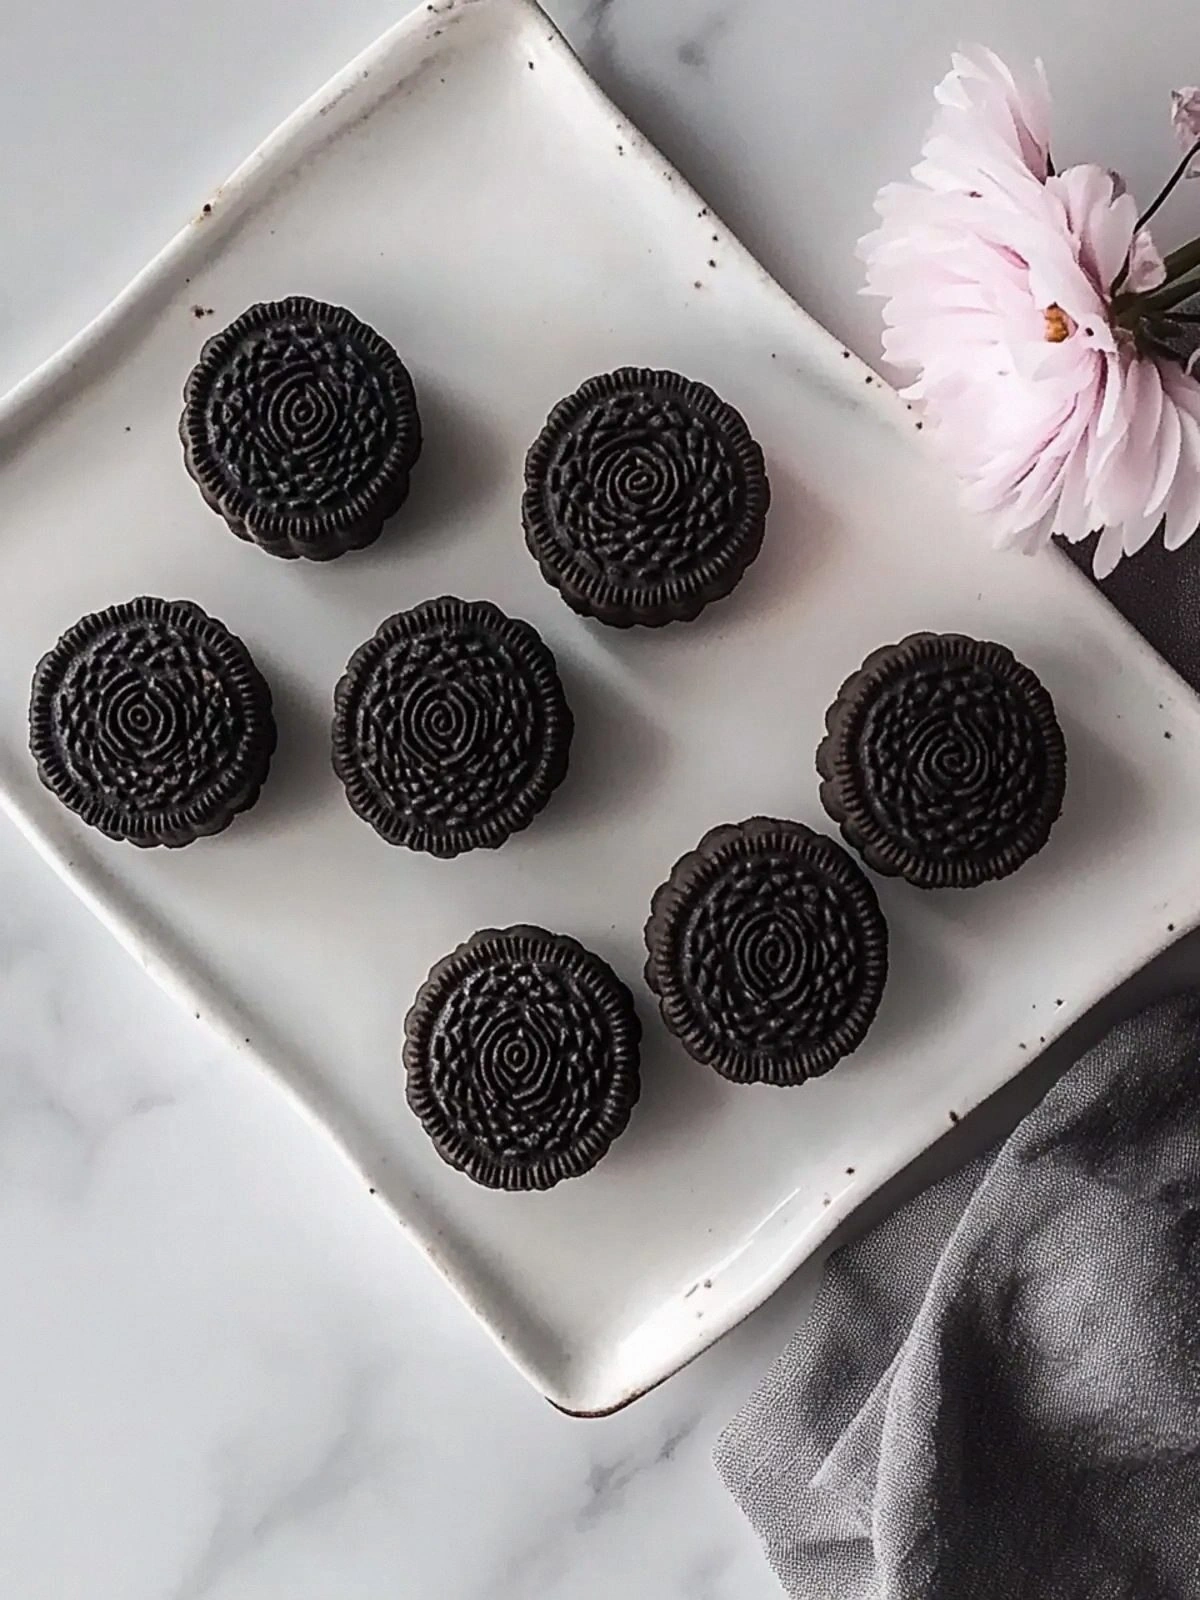
- Visual Appeal: The golden-brown crust and the glossy chocolate interior make each mooncake look like a piece of art, perfect for Instagram or a fancy dessert table.
- Kid‑Friendly: Kids love the cookie base, and adults appreciate the sophisticated flavor. It’s a recipe that bridges generations.
Inside the Ingredient List
The Flavor Base
At the heart of this recipe are the 20 pieces of Oreo cookies. They provide the chocolatey richness that makes every bite memorable. Each cookie is a small, chocolate‑filled sphere of joy, and when crushed, it releases a burst of flavor that permeates the dough. If you skip this step, you’ll lose the signature taste that makes the mooncakes feel like a secret indulgence. For those who prefer a different flavor, you can substitute half of the Oreos with chocolate sandwich cookies or even a sweetened shortbread.
The Texture Crew
The 60 grams of milk is the secret to achieving that silky center. Milk hydrates the crushed cookie crumbs, allowing them to bind together without becoming too sticky. It also adds a subtle creaminess that balances the crunch. If you’re lactose intolerant, try using a dairy‑free milk alternative—almond milk works well, but it may alter the flavor slightly. The ratio of milk to cookies is critical; too much milk will make the mixture runny, while too little will produce a crumbly, dry texture.
The Unexpected Star
A pinch of salt is the unsung hero that elevates the chocolate flavor. Salt doesn’t just taste salty; it enhances sweetness and brings out the depth of the chocolate. Skipping the salt will result in a flat taste that doesn’t excite the palate. If you’re watching sodium, use a low‑sodium salt or even a dash of sea salt for a more nuanced flavor.
The Final Flourish
A small amount of flour is optional, but it can help the dough hold its shape if you’re working with a very moist mixture. Use a light dusting—just enough to prevent sticking, not enough to alter the texture. If you prefer a truly flourless recipe, simply shape the dough by hand and use parchment paper to prevent sticking.
Everything’s prepped? Good. Let’s get into the real action and turn these humble cookies into mooncake masterpieces.
The Method — Step by Step
- First, place the Oreos in a large bowl and crush them into fine crumbs. Use a rolling pin, a food processor, or simply wrap them in a plastic bag and tap with a rolling pin until they’re almost powdery. The goal is to get rid of the wafer layers while preserving the creamy center. This step is crucial because the texture of the final mooncake depends on the consistency of the crumbs.
- Next, pour the 60 grams of milk over the crushed cookies. Stir gently with a spatula until the mixture is moist but not runny. The milk hydrates the crumbs and creates a dough that’s easy to handle. If the mixture feels too dry, add a teaspoon of milk at a time until you reach the right consistency.
- Add a pinch of salt to the mixture and fold it in. The salt balances the sweetness and brings out the chocolate flavor. Mix until the salt is evenly distributed; you should see a subtle sheen on the surface of the dough.
- If you’re using flour, dust your work surface lightly with flour and sprinkle a small amount onto the dough. Gently knead until the dough holds together but still feels slightly sticky. The flour helps the dough hold its shape during baking, especially if you’re working in a humid environment.
- Divide the dough into 20 equal portions—one for each mooncake. Shape each portion into a tight ball and then flatten it into a disc about 3 cm in diameter. The discs should be uniform so that they bake evenly. If the dough is too sticky, lightly dust your hands with flour.
- Place the flattened discs onto a parchment‑lined baking sheet. Gently press each disc into a pre‑greased silicone mooncake mold or use a small round cookie cutter to create a crisp edge. The molds give the mooncakes their characteristic shape and help them maintain a uniform thickness.
- Preheat your oven to 180°C (350°F). While the oven is heating, line a baking tray with parchment paper and place the molded mooncakes on it. The parchment prevents sticking and ensures even baking.
- Bake the mooncakes for 10–12 minutes, or until the edges are golden brown and the center feels set. Keep an eye on them—Oreo crumbs can brown quickly, and you don’t want them to burn. Once done, remove them from the oven and let them cool on a wire rack for 5 minutes before serving.
That’s it— you did it. But hold on, I've got a few more tricks that'll take this to another level. Let’s dive into the insider tips that will elevate your mooncake experience.
Insider Tricks for Flawless Results
The Temperature Rule Nobody Follows
Many people bake at the standard 180°C, but the secret to a perfect crust is a slightly higher temperature—190°C. This subtle increase ensures the edges caramelize without burning the center. It also gives the mooncakes a beautiful, glossy finish that’s hard to resist. Just be sure to keep a close eye on the baking time; a minute or two can make the difference between golden perfection and a dark, burnt exterior.
Why Your Nose Knows Best
The aroma of baking Oreos is a powerful cue for when they’re done. As soon as the scent becomes rich and chocolatey, the mooncakes are ready. This sensory checkpoint saves you from relying solely on the timer. Trust your nose, and you’ll avoid the dreaded “still baking” scenario that leaves your kitchen smelling like burnt cookies.
The 5‑Minute Rest That Changes Everything
After removing the mooncakes from the oven, let them rest on the wire rack for exactly five minutes. This pause allows the interior to set properly, preventing the center from collapsing when you lift them. It also lets the flavors meld, creating a richer taste. Skipping this step often results in a slightly soggy center that’s not as crisp as it could be.
Keep the Crumbs in a Sealed Bag
If you’re making a batch, store any leftover Oreo crumbs in an airtight container. They’re perfect for topping yogurt, adding to ice cream, or even sprinkling over pancakes. This way, you never waste a single crumb, and you can enjoy the chocolatey crunch in a variety of ways.
Use a Silicone Mold for Even Shape
Silicone mooncake molds give a consistent shape and help the dough maintain its structure. They’re also easy to clean and reusable, saving you time and effort. If you don’t have a mold, a small round cookie cutter works just as well, but the silicone gives a more authentic look and feel.
Creative Twists and Variations
This recipe is a playground. Here are some of my favorite ways to switch things up:
Dark Chocolate Oreo Mooncakes
Swap half of the Oreos for dark chocolate Oreos. The deeper cocoa flavor adds a sophisticated twist that pairs wonderfully with a splash of espresso or a dusting of cocoa powder.
Vanilla Bean Infusion
Add a teaspoon of vanilla extract to the dough. The vanilla aroma elevates the chocolate, creating a layered flavor profile that’s both comforting and elegant.
Nutty Crunch Variation
Toss in a handful of chopped pistachios or almonds before shaping the dough. The nuts provide a delightful crunch and a burst of color, making each mooncake visually striking.
Salted Caramel Twist
Drizzle a thin layer of salted caramel sauce over the cooled mooncakes before serving. The caramel adds a sweet, buttery layer that complements the chocolatey base.
Minty Surprise
Mix in a few drops of mint extract and sprinkle crushed mint candies on top after baking. The mint provides a refreshing contrast to the rich chocolate, making these mooncakes perfect for a summer gathering.
Storing and Bringing It Back to Life
Fridge Storage
Store the mooncakes in an airtight container at room temperature for up to 3 days. If you’re in a humid climate, keep them in the refrigerator to prevent the crumbs from becoming sticky. When you’re ready to serve, let them sit at room temperature for 10 minutes to restore their full flavor.
Freezer Friendly
Wrap each mooncake individually in plastic wrap, then place them in a freezer bag. They can be frozen for up to 2 months. When you’re ready to enjoy them, thaw at room temperature for 20 minutes, then warm them in a 120°C oven for 5 minutes to revive the crispness.
Best Reheating Method
To reheat, preheat the oven to 120°C and warm the mooncakes for 5 minutes. If they’re particularly dry, add a tiny splash of water to the bottom of the baking tray. The water steams the mooncakes, restoring moisture without making them soggy.