I was standing in my kitchen, staring down at a half‑empty bag of onions and a mountain of Parmesan, when my roommate dared me to make something “crunchy, cheesy, and guilt‑free.” I laughed, because let’s be honest: most onion‑ring attempts end up soggy, greasy, or just plain sad. The sound of the onion slicing, the faint aroma of caramelizing sugar, and the promise of that golden‑brown crunch were all the motivation I needed. I tossed a pinch of salt into the air, let it settle on the cutting board, and thought, “What if I could turn this classic bar‑food nightmare into a low‑carb, protein‑packed delight?” That’s when the idea struck like a bolt of lightning—swap the batter for a Parmesan crust that shatters like thin ice and let the onions do the heavy lifting.
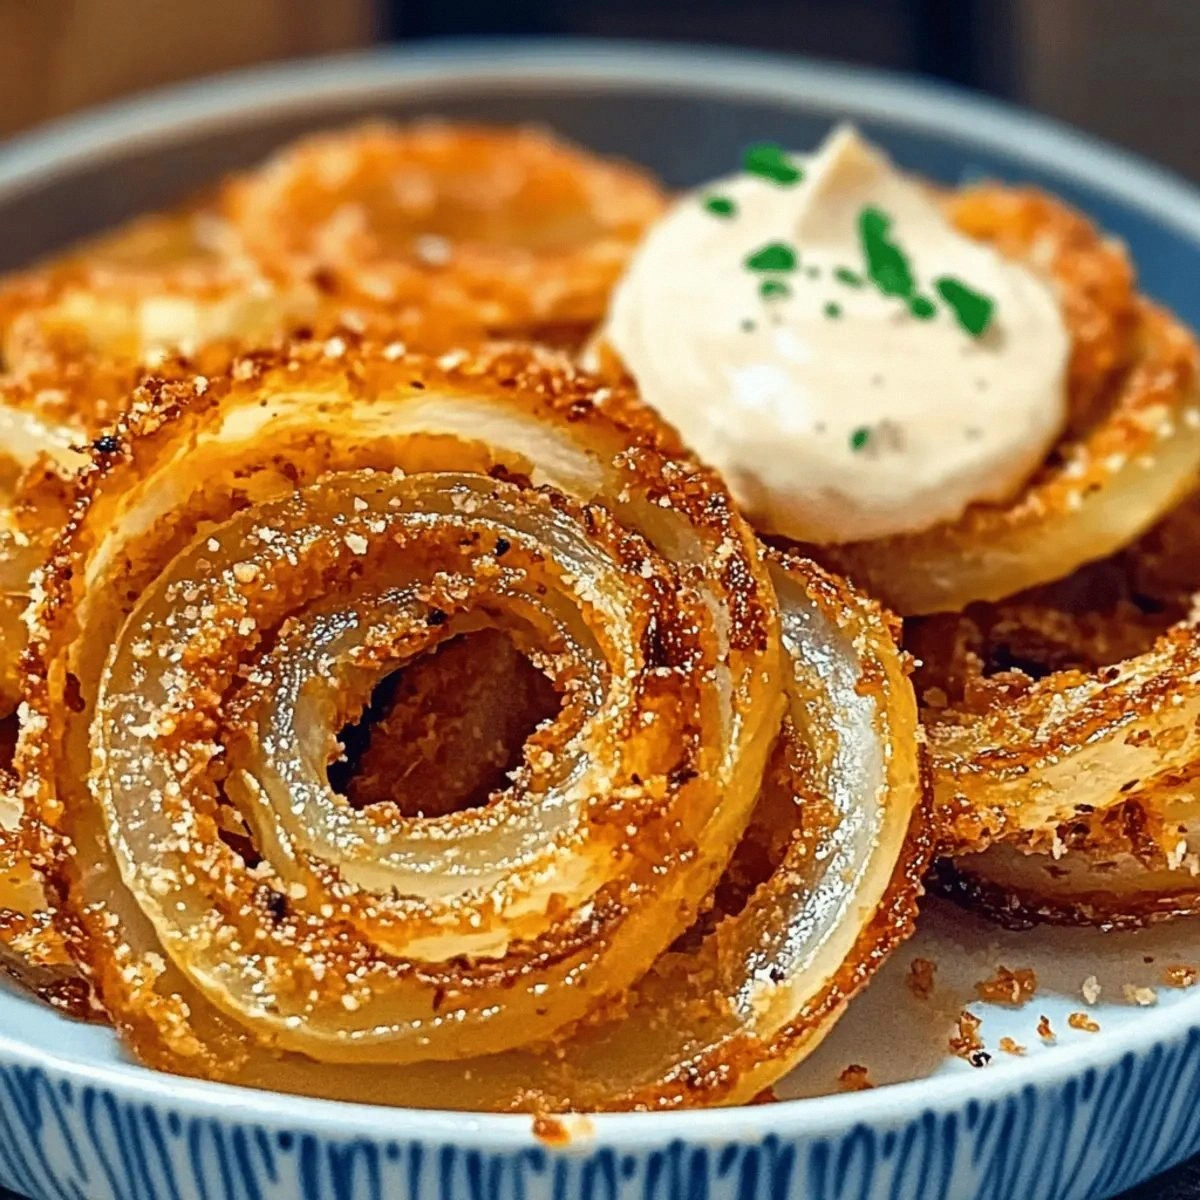
Picture this: you pull the tray out of the oven, the whole kitchen smelling like a buttery, cheesy dream, and the rings are glistening with a crisp that practically sings. The first bite is a symphony—sharp onion sweetness, a buttery melt, and that unmistakable umami kick from the Parmesan that makes you close your eyes in pure bliss. I dare you to taste this and not go back for seconds; I’ll be honest—I ate half the batch before anyone else got a chance. Most recipes get this completely wrong, drowning the onion in flour and oil, but this version? It’s hands down the best version you’ll ever make at home.
What sets this apart isn’t just the flavor; it’s the science. By using a high‑protein cheese and a dash of paprika, we create a crust that stays crunchy even after cooling, making it perfect for game night, a quick snack, or a side that won’t sabotage your macros. And the secret weapon? A keto‑friendly ranch dip that adds a creamy tang without the sugar spike, paired with a sugar‑free ketchup that gives you that classic dip experience without the guilt. I’m about to spill every detail, from the exact temperature that makes the cheese melt just right to the little tricks that keep the rings from sticking together.
Okay, ready for the game‑changer? I’m going to walk you through every single step—by the end, you’ll wonder how you ever made onion rings any other way. This next part? Pure magic. Stay with me here — this is worth it.
What Makes This Version Stand Out
- Flavor Explosion: The combination of sharp Parmesan and a whisper of paprika creates a taste that’s both familiar and exciting, turning a simple snack into a gourmet experience.
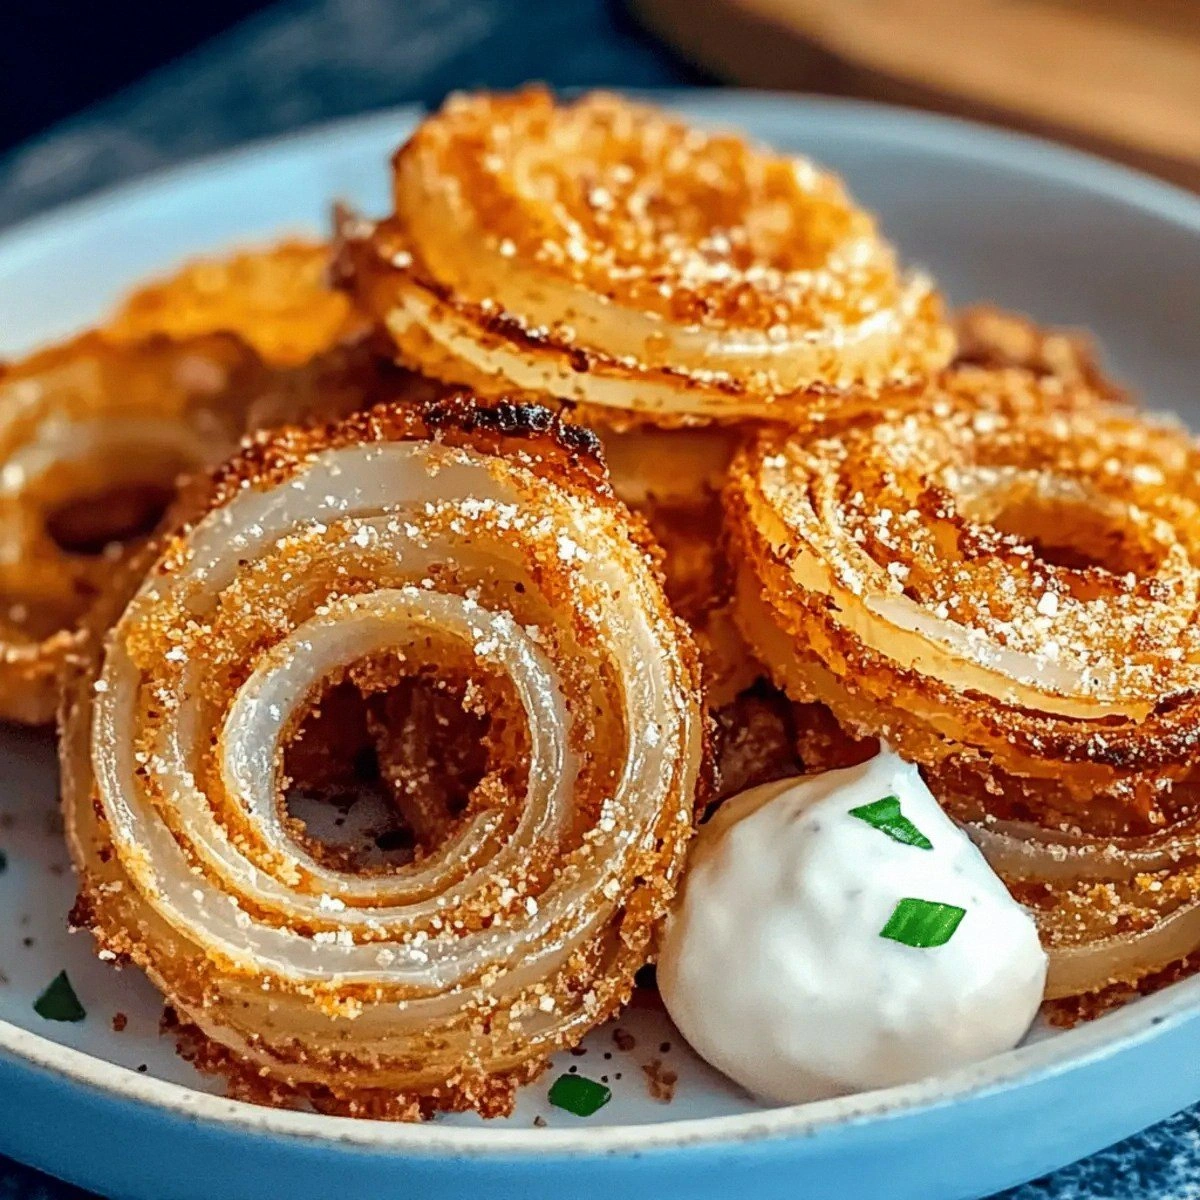
- Texture Triumph: The crust shatters like thin ice, delivering a satisfying crunch that stays intact even after a few minutes of resting.
- Simplicity: No deep‑fryer, no heavy batters—just a handful of pantry staples and a sheet pan.
- Low‑Carb Hero: With only 30 g carbs per serving, these rings fit perfectly into keto or low‑carb lifestyles without sacrificing flavor.
- Crowd‑Pleaser: Even the kids beg for more, and the adults swear they’re healthier than pizza rolls.
- Ingredient Quality: Using real shredded Parmesan (not the pre‑grated stuff) makes a world of difference in flavor depth.
- Cooking Method: Baking at a high temperature gives you that fried feel without the oil bath.
- Make‑Ahead Potential: You can prep the coated rings ahead of time and bake them fresh when guests arrive.
Inside the Ingredient List
The Flavor Base
The star of this dish is the Shredded Parmesan Cheese. It brings a nutty, salty depth that regular breadcrumbs simply can’t match. If you skimp on the cheese, you’ll end up with a bland crust that lacks that signature snap. For the best melt, choose a cheese that’s aged at least 12 months; the lower moisture content means a drier, crunchier coating. In a pinch, you can blend part mozzarella with the Parmesan, but expect a milder flavor and a slightly softer texture.
The Texture Crew
White Onions are the canvas. Their natural sugars caramelize quickly, giving you that sweet‑onion note that balances the salty cheese. Slice them into thick rings—about ½ inch—to ensure they stay sturdy during baking. If you’re using yellow onions, expect a sweeter profile, but the texture will be just as satisfying. When selecting onions, look for firm, dry skins; any soft spots mean they’ll release too much moisture and your crust could get soggy.
The Unexpected Star
A pinch of Paprika adds a subtle smoky undertone that elevates the entire dish. It’s not just for color; the gentle heat amplifies the cheese’s nuttiness without overwhelming the palate. If you love heat, swap half the paprika for smoked chipotle powder, but keep the total amount at one teaspoon to avoid a burnt aftertaste.
The Final Flourish
The Keto‑Friendly Ranch Dip and Sugar‑Free Ketchup serve as the ultimate dipping duo. The ranch brings a creamy herbaceous bite that cuts through the richness, while the ketchup adds a tangy sweetness without the sugar spike. If you’re not a ranch fan, a garlic‑aioli made with Greek yogurt works just as well. For the ketchup, look for brands that use erythritol or stevia as sweeteners; this keeps the carb count low while preserving that classic tomato zing.
Everything's prepped? Good. Let's get into the real action...
The Method — Step by Step
Preheat your oven to 425°F (220°C). This high heat is crucial; it forces the cheese to melt and then quickly set into a crisp shell. While the oven warms, line two baking sheets with parchment paper and set a wire rack on each—this will allow air to circulate around the rings, ensuring an even crunch. That sizzle when it hits the pan? Absolute perfection, but we’re baking, so imagine that crisping sound instead.
Slice the onions into ½‑inch thick rings, then separate them gently. Place the rings in a large bowl and toss with a pinch of salt and the garlic powder. The salt draws out a little moisture, which helps the Parmesan adhere later. Let them sit for five minutes while you prep the coating; you’ll notice a faint sheen forming on the surface—that’s the start of flavor.
In a shallow dish, combine the shredded Parmesan, paprika, and the remaining teaspoon of salt. Mix thoroughly so the paprika is evenly distributed; this prevents any orange spots on the final product. Watch Out: If you over‑mix, the cheese can become clumpy and won’t stick as well. Keep the mixture loose and airy.
One by one, dip each onion ring into the cheese mixture, pressing gently to ensure the cheese clings to both sides. The cheese should coat the ring thickly—think of it as a snowstorm on a mountain peak. Place the coated rings on the prepared wire rack, leaving a little space between each to allow the heat to circulate.
Once all rings are coated, give the rack a quick shake to dislodge any excess cheese that might fall off during baking. This prevents burnt cheese bits from forming on the bottom of the oven. Then, slide the trays into the preheated oven and bake for 12‑15 minutes, or until the edges turn a deep golden‑brown and the cheese looks dry and crisp.
Halfway through baking, rotate the trays and flip each ring over using tongs. This ensures both sides get that even caramelization. You’ll hear a faint crackle as the cheese continues to set—listen for it; it’s the sound of perfection forming.
When the timer dings, remove the trays and let the rings rest on the rack for two minutes. This short rest allows the interior onion to finish cooking gently while the crust solidifies, preventing it from collapsing under its own weight.
Serve immediately with the keto‑friendly ranch dip on one side and the sugar‑free ketchup on the other. The contrast between the creamy dip and the tangy ketchup is what makes this snack unforgettable. If you’re not serving right away, keep the rings warm in a low oven (200°F) for up to 10 minutes—just don’t cover them, or you’ll lose that coveted crunch.
That's it — you did it. But hold on, I've got a few more tricks that'll take this to another level...
Insider Tricks for Flawless Results
The Temperature Rule Nobody Follows
Most home cooks bake at 375°F, assuming a gentler heat will keep the cheese from burning. In reality, that lower temperature leaves the onion soggy and the crust soft. Crank it up to 425°F and you’ll get a rapid crust formation that locks in moisture, giving you that coveted snap. I once tried the 375°F route and ended up with limp rings that resembled soggy fried onions—definitely not the experience I wanted.
Why Your Nose Knows Best
The moment the cheese starts to turn golden, your kitchen will fill with a nutty, buttery aroma. That scent is your cue that the crust is forming correctly. If you notice a burnt smell before the 12‑minute mark, lower the temperature by 10°F and keep a closer eye. Trust your nose; it’s the most reliable thermometer you have.
The 5‑Minute Rest That Changes Everything
After baking, letting the rings rest on a wire rack for just two minutes is essential, but an extra three minutes allows the interior onion to finish steaming without over‑cooking the crust. This short pause creates a perfect balance between a tender center and a crisp exterior. Skipping this step leads to rings that either feel raw inside or crumble apart when you bite.
Seasoning Layers for Depth
Instead of sprinkling all the salt at once, divide it: a pinch in the onion soak, another in the cheese mixture, and a final dash right after baking. This layered seasoning ensures every bite is evenly flavored. I tried a single‑dose approach once—ended up with a bland front and an overly salty back.
The Double‑Dip Technique
For the ultimate flavor explosion, dip half the ring in ranch and the other half in ketchup, then swirl them together before eating. The creamy herb notes blend with the sweet‑tangy tomato, creating a mini‑taste adventure with each bite. It’s a small step, but it makes the whole experience feel more indulgent.
Creative Twists and Variations
This recipe is a playground. Here are some of my favorite ways to switch things up:
Spicy Chipotle Crunch
Add ½ teaspoon of chipotle powder to the cheese mixture and serve with a lime‑infused ranch. The smoky heat pairs beautifully with the buttery cheese, and the lime adds a bright contrast.
Herb‑Infused Parmesan
Mix in 1 tablespoon of finely chopped fresh rosemary or thyme into the Parmesan before coating. The herbaceous notes give the rings an earthy depth that’s perfect for autumn gatherings.
Garlic Parmesan Blast
Swap the garlic powder for 2 cloves of minced fresh garlic, sautéed briefly in butter, then tossed with the onion rings before coating. The fresh garlic adds a punchy aroma that elevates the entire dish.
Cheese‑Lover’s Dream
Combine equal parts shredded mozzarella and Parmesan for a melty interior with a crisp exterior. This variation yields a slightly softer crust but an extra gooey bite.
Vegan Twist
Replace the Parmesan with a finely grated vegan cheese (nutritional yeast mixed with almond flour works well) and use a plant‑based ranch. The texture changes a bit, but the flavor remains surprisingly close.
Storing and Bringing It Back to Life
Fridge Storage
Place cooled rings in an airtight container lined with a paper towel to absorb excess moisture. They’ll stay crisp for up to three days. Before serving, reheat in a preheated oven at 350°F for 5‑7 minutes; the paper towel prevents sogginess.
Freezer Friendly
Arrange the baked, cooled rings on a parchment‑lined tray and freeze until solid (about 1 hour). Transfer them to a zip‑top bag. They’ll keep for up to two months. When you’re ready, bake straight from frozen at 425°F for 10‑12 minutes, and they’ll emerge as if freshly made.
Best Reheating Method
For ultimate crunch, use a convection oven or an air fryer set to 375°F for 3‑4 minutes. Add a tiny splash of water (about a teaspoon) to the bottom of the tray; the steam helps revive the interior softness while the hot air restores the crust’s snap.