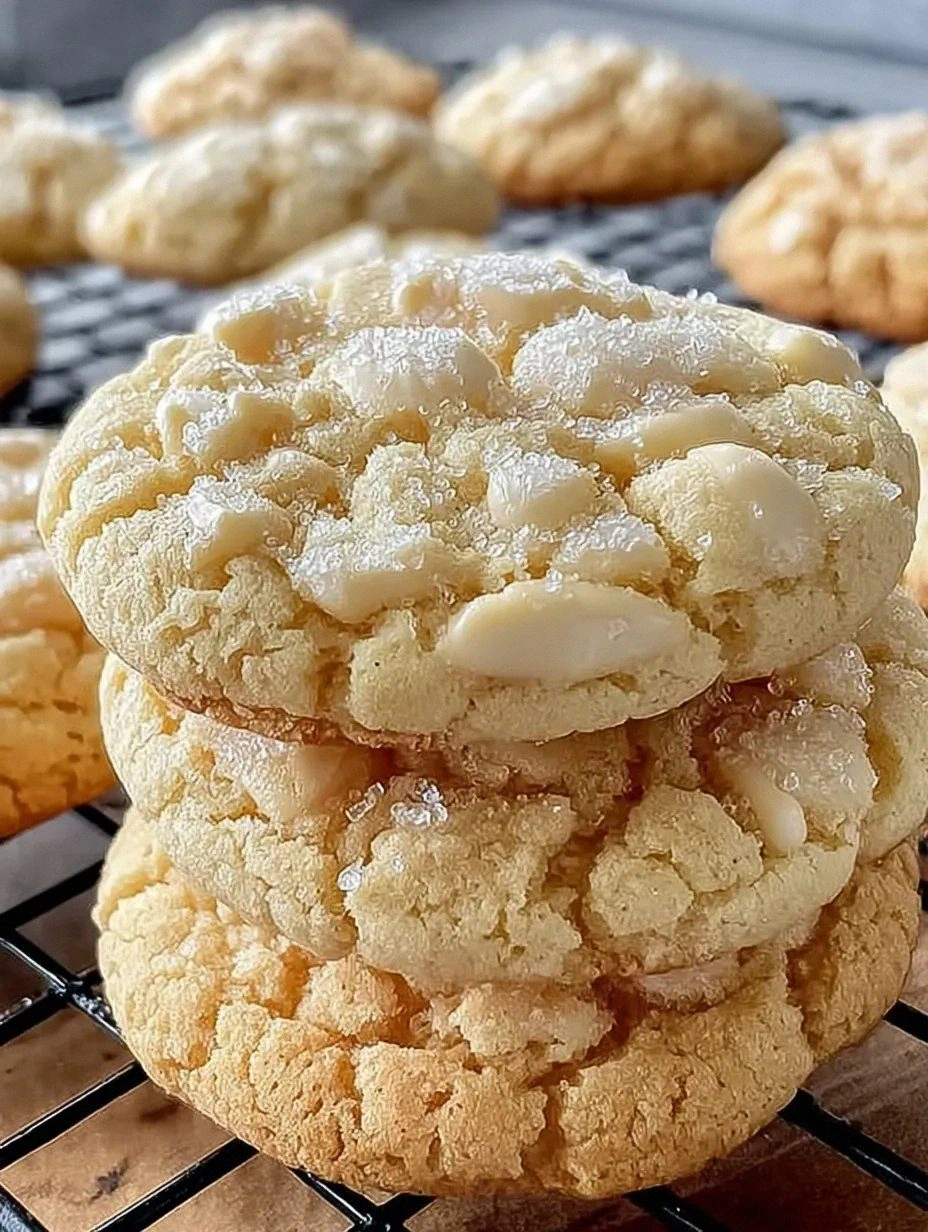
I was standing in my kitchen on a rainy Tuesday, the kind of day when the clouds look like a giant cotton‑candy swirl and the only thing that could possibly make me smile is a sweet, buttery treat. I had just burned a batch of store‑bought brownies—crisp on the outside, gummy in the middle, and the smell? A sad reminder of what could have been. My roommate dared me, “If you can’t make brownies, make something that actually tastes like a hug from the South.” I laughed, I rolled my eyes, and then I grabbed a half‑empty bag of butterscotch chips that had been hiding in the pantry for months. That tiny spark turned into what I now call the ultimate comfort bar, and trust me, this version blows every other butterscotch bar recipe out of the water.
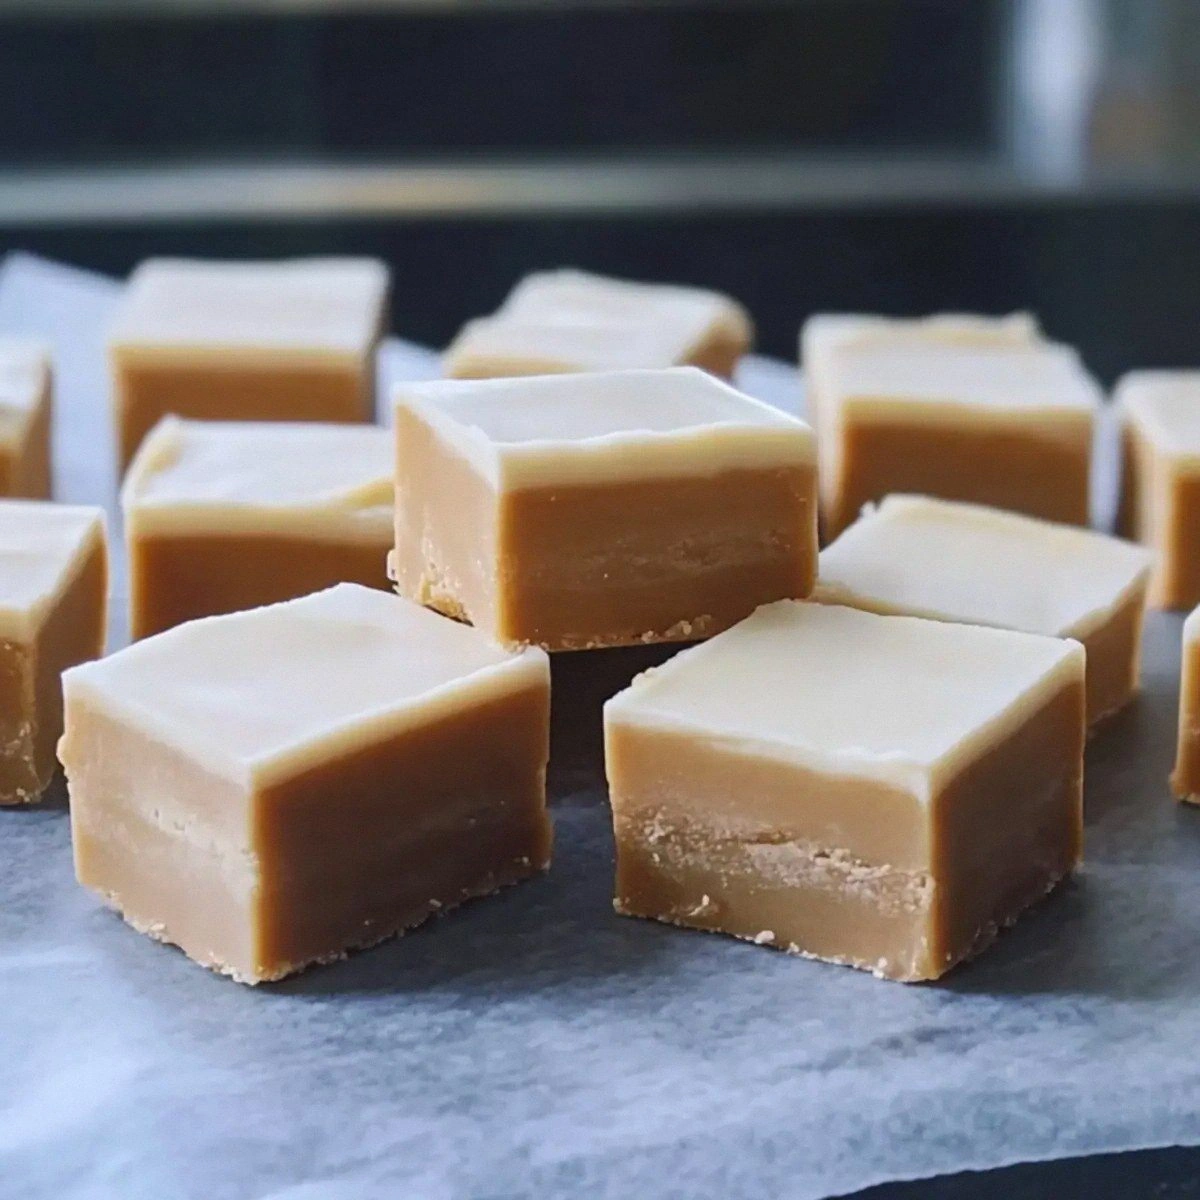
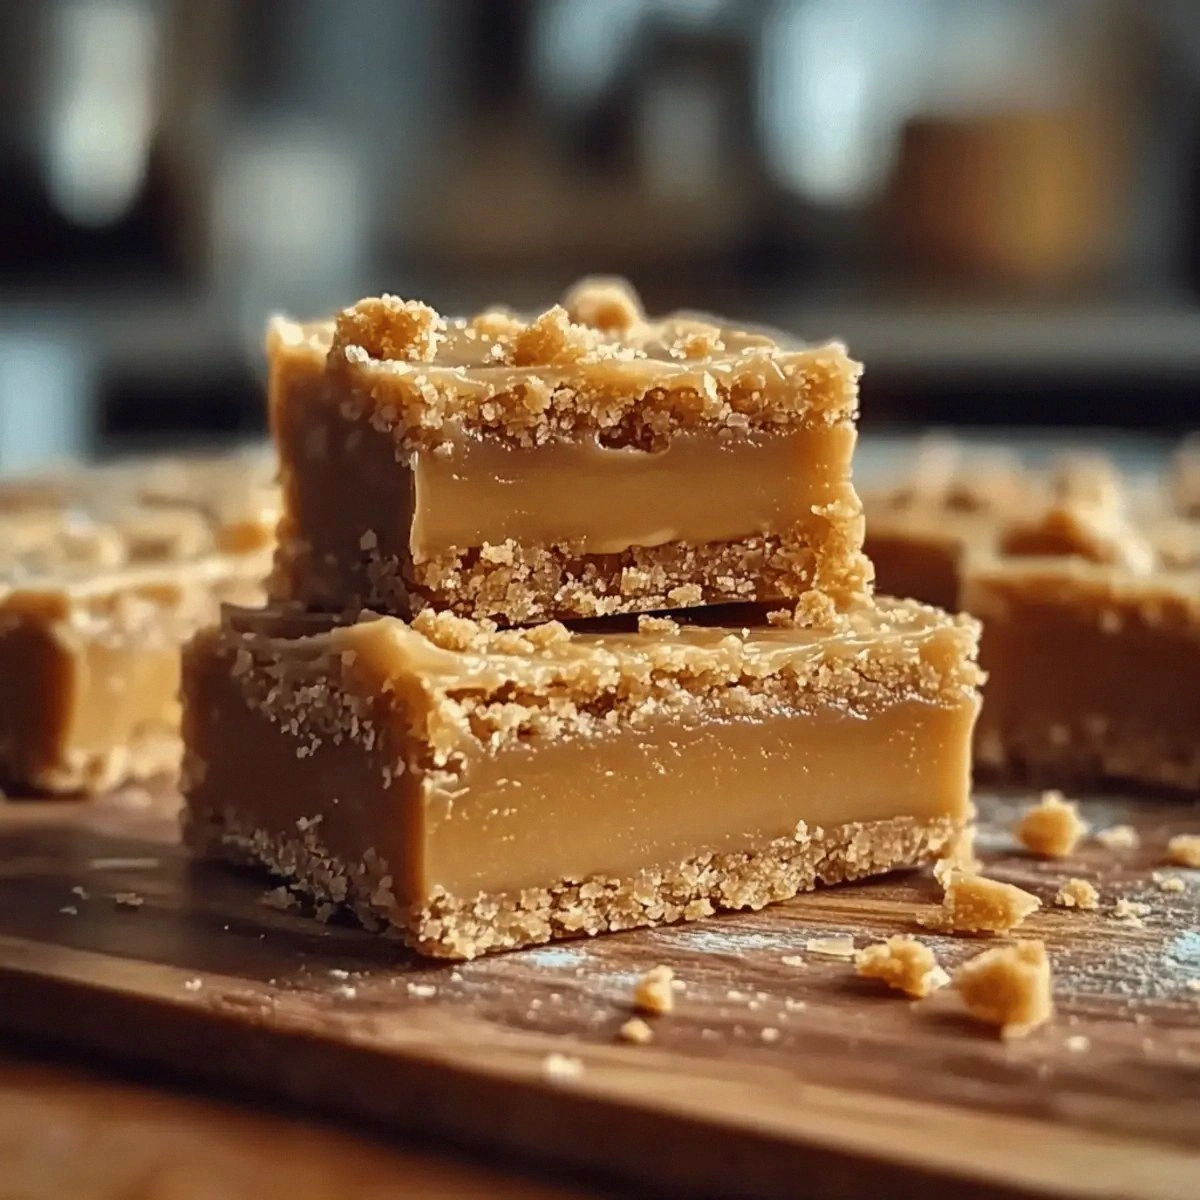
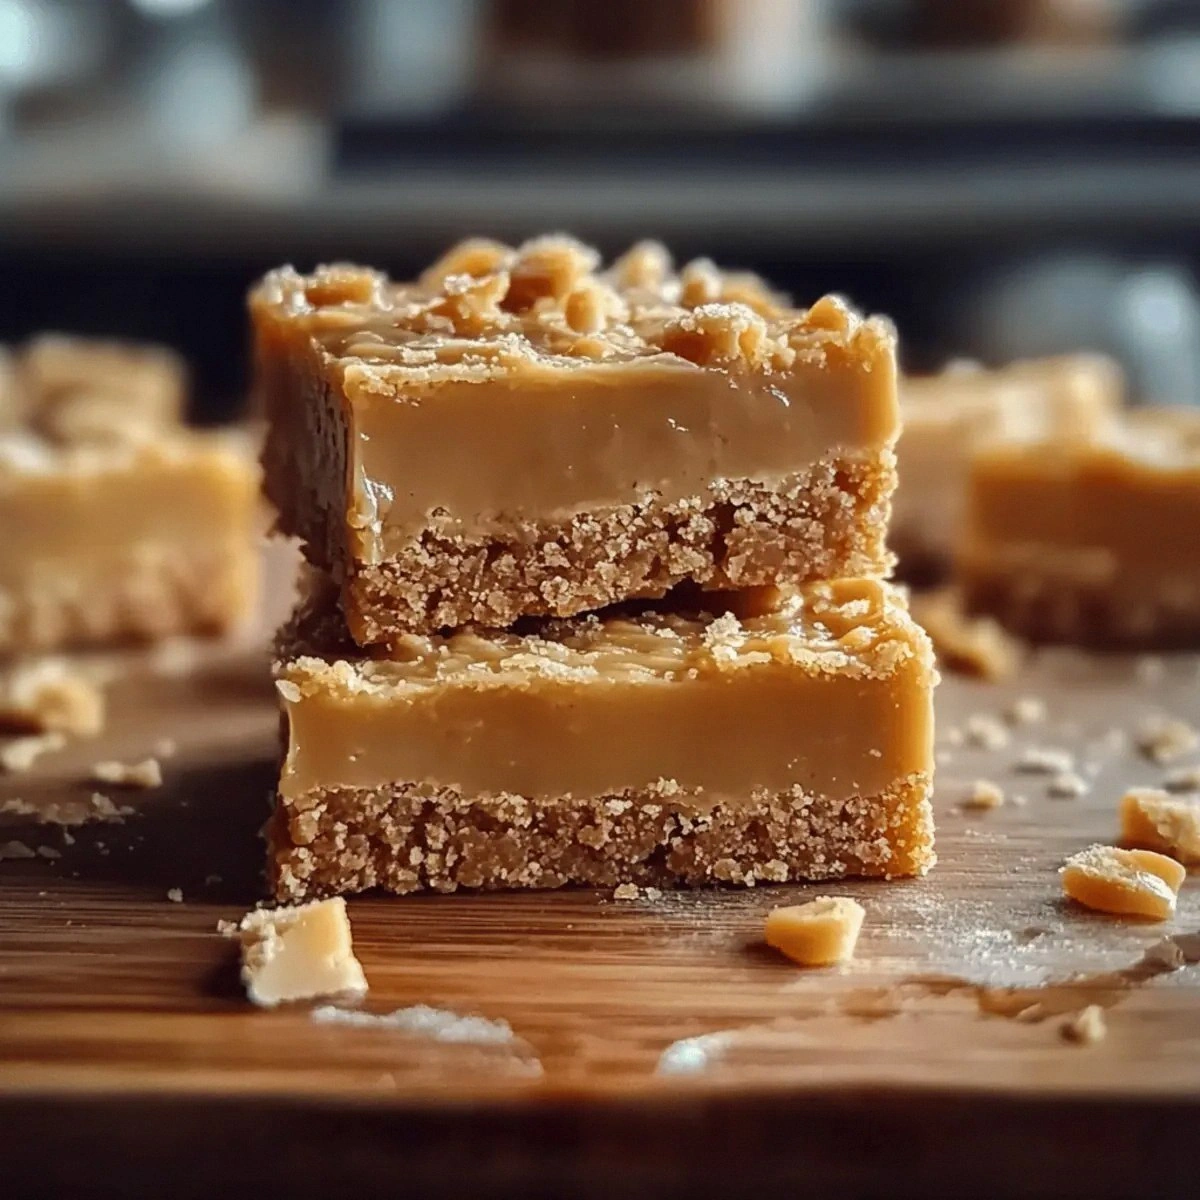
Picture this: the moment the batter hits the pan, you hear a faint sizzle as the butter melts into a glossy pool, the sugar crystals dissolve like tiny fireworks, and the kitchen fills with a buttery‑butterscotch perfume that makes you want to hug the oven door. The batter spreads itself into a thick, caramel‑kissed sheet that bakes into a chewy, golden‑brown canvas. When you pull the pan out, the edges are crisp enough to snap like thin ice, while the center stays soft, almost melt‑in‑your‑mouth, with pockets of melted butterscotch chips that stretch like taffy. It’s a texture paradox that feels like you’ve been handed a piece of Southern nostalgia wrapped in a modern, Instagram‑ready finish.
What makes this version truly stand out is the secret weapon: a splash of vanilla extract that’s doubled, and a careful balance of light brown sugar and granulated sugar that creates a caramel depth without the bitterness of burnt sugar. Most recipes either over‑sweeten or under‑fluff, leaving you with either a hard candy bar or a soggy mess. I’ve tweaked the ratio of butter to flour and introduced a pinch of baking soda that gives the bars a subtle lift, so they’re not flat as a pancake but still dense enough to hold every buttery bite. I’m being bold when I say this is hands down the best version you’ll ever make at home—no shortcuts, just pure, chewy delight.
Okay, ready for the game‑changer? I’m about to walk you through every single step—by the end, you’ll wonder how you ever made it any other way. I’ll spill the beans on a technique that most bakers overlook (it involves a quick chill of the dough before baking), and I’ll share a few kitchen hacks that will make the whole process smoother than a fresh‑squeezed peach juice. I dare you to taste this and not go back for seconds. Let’s dive in.
What Makes This Version Stand Out
- Flavor Depth: The combination of light brown sugar and granulated sugar creates a caramel‑rich backbone, while the extra vanilla adds a fragrant, lingering note that makes each bite sing.
- Chewy Texture: A careful balance of butter, flour, and a pinch of baking soda yields a bar that’s soft in the middle yet has crisp edges that snap like thin ice.
- Simplicity: Only nine ingredients, all pantry staples, and you don’t need any fancy equipment—just a good mixing bowl and a 9×13 pan.
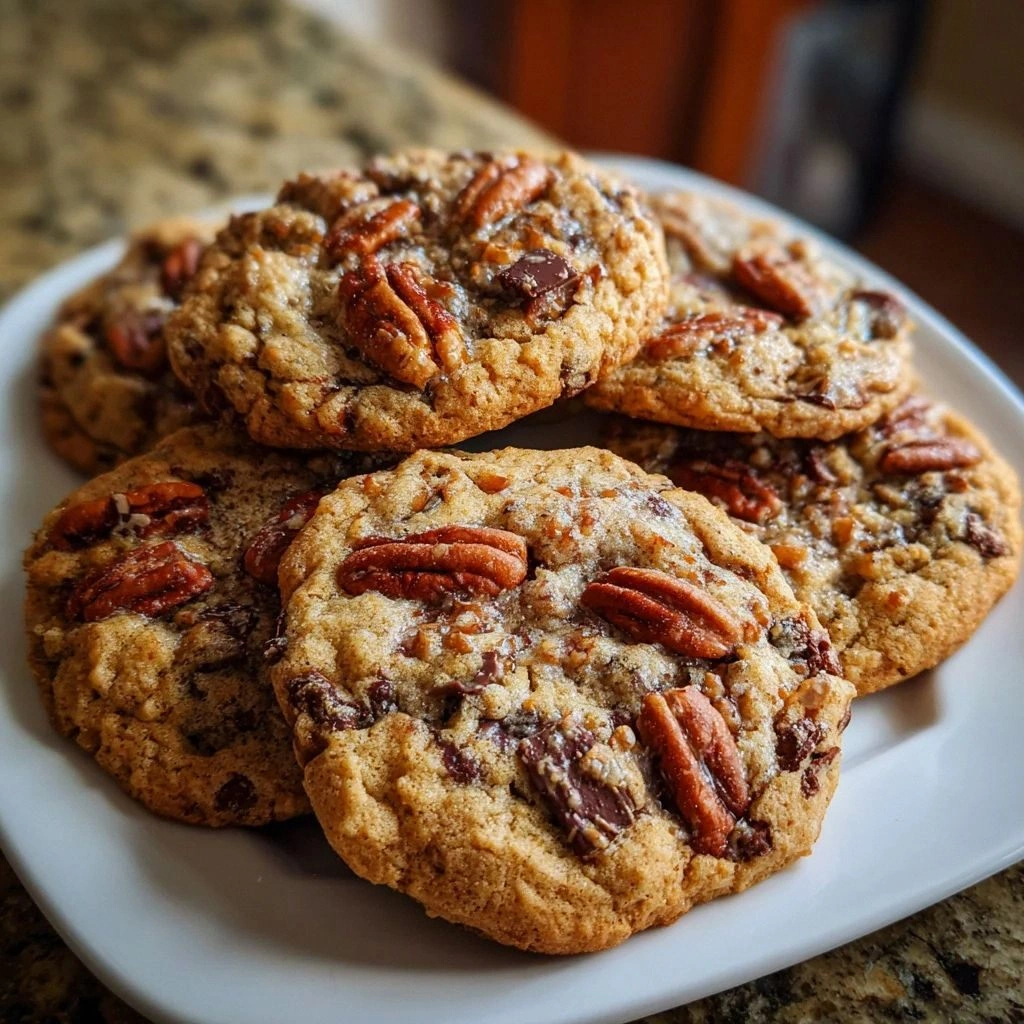
- Unique Ingredient: Butterscotch chips, not the usual chocolate chips, give a buttery, caramel‑like burst that’s unexpected and unforgettable.
- Crowd Reaction: I’ve served these at potlucks and people line up for seconds, asking “What’s the secret?”—the answer is in the method, not the mystery ingredient.
- Ingredient Quality: Using real unsalted butter and high‑quality butterscotch chips makes a world of difference; you can taste the richness.
- Cooking Method: A brief chill of the dough before baking ensures the bars hold their shape and develop that perfect chew.
- Make‑Ahead Potential: These bars keep well for up to a week in an airtight container, and they even freeze beautifully for future cravings.
Inside the Ingredient List
The Flavor Base
Unsalted butter is the heart of this bar. It provides the richness and a silky mouthfeel that makes every bite feel luxurious. If you substitute with margarine, you’ll lose that buttery aroma that’s essential for the Southern vibe. Look for a butter that’s at least 80% fat; the higher the fat, the richer the flavor. I always buy a stick of European‑style butter for that extra depth.
Light brown sugar adds a subtle molasses note, giving the bars a caramel undertone without overwhelming sweetness. It also helps retain moisture, keeping the center chewy. If you only have dark brown sugar, you can use it, but you’ll get a deeper, slightly bitter edge—good for some, but not the classic Southern sweetness.
The Texture Crew
Granulated sugar works hand‑in‑hand with the brown sugar to create a crisp crust on the edges. It caramelizes faster, providing that golden‑brown finish that’s visually appealing and texturally satisfying. Skipping it will result in a dull, flat top.
All‑purpose flour is the structural backbone. It absorbs the butter and sugars, forming the tender crumb. Using cake flour would make the bars too delicate, while bread flour would make them dense. Stick with AP flour for that perfect balance.
Baking soda is the secret lift. A pinch reacts with the sugars, creating tiny air pockets that keep the bars from becoming a solid slab. Too much soda, and you’ll get a metallic aftertaste; too little, and the texture will be overly dense.
The Unexpected Star
Butterscotch chips are the show‑stopper. They melt into pockets of gooey caramel that stretch like taffy when you pull a piece apart. If you can’t find chips, chop a block of butterscotch candy into small chunks; the result is just as indulgent. Avoid substituting with regular chocolate chips unless you want a completely different flavor profile.
The Final Flourish
Vanilla extract, doubled in this recipe, amplifies the buttery notes and adds a fragrant backdrop that ties the whole bar together. Use pure vanilla extract for the best flavor; imitation vanilla can taste flat and synthetic.
A pinch of salt is the quiet hero. It balances the sweetness and enhances the overall flavor, making the butterscotch shine. Never skip it—your taste buds will thank you.
Everything's prepped? Good. Let's get into the real action...
The Method — Step by Step
Preheat your oven to 350°F (175°C). While the oven warms, line a 9×13‑inch baking pan with parchment paper, letting the edges overhang for easy removal later. This step is crucial because a properly heated oven creates that immediate rise and golden crust that we all crave. I always set a timer for the preheat; if you’re impatient and slide the pan in too early, you’ll get a pale, uneven bar.
Kitchen Hack: Place the parchment‑lined pan on a cold baking sheet before loading the batter. This prevents the pan from warping under the heat.In a large mixing bowl, melt 1 cup of unsalted butter over low heat until just bubbling. Remove from heat and let it cool for a minute—this prevents the eggs from scrambling when added. I like to whisk in the light brown sugar and granulated sugar until the mixture looks glossy and the sugars have dissolved. You’ll hear a faint crackle as the sugar meets the butter; that’s the sound of flavor forming.
Add 2 large eggs, one at a time, beating well after each addition. Then stir in 2 teaspoons of vanilla extract. The batter should become smooth, slightly thick, and have a buttery aroma that fills the kitchen. If the mixture looks curdled, keep whisking; it will come together.
In a separate bowl, whisk together 2 cups of all‑purpose flour, 1 teaspoon of baking soda, and ½ teaspoon of salt. This dry blend ensures even distribution of the leavening agent, preventing pockets of soda that could taste metallic. I sift the flour mixture to aerate it, which also helps achieve that tender crumb.
Gradually fold the dry ingredients into the wet batter using a rubber spatula. Do this gently—over‑mixing will develop gluten and make the bars tough. The batter should be thick but spreadable, with a faint sheen from the butter. At this point, you’ll notice the batter clinging to the spatula, a good sign that the butter is well‑incorporated.
Stir in 1 cup of butterscotch chips until evenly distributed. The chips should stay whole, not melt into the batter yet. This ensures pockets of molten butterscotch when baked, creating that gooey pull you love.
Watch Out: If your chips are too soft, they may melt completely and turn the batter brown. Keep them refrigerated until you fold them in to maintain their shape.Transfer the batter to the prepared pan, spreading it evenly with the spatula. Here’s the moment of truth: the surface should be smooth, with a slight ridge at the edges. Press the batter down gently to eliminate air pockets—this helps achieve an even bake.
Slide the pan into the preheated oven and bake for 25‑30 minutes. Around the 20‑minute mark, start checking the edges; they should start pulling away from the sides of the pan and turn a deep golden brown. The top will look set but still slightly soft—don’t overbake, or you’ll lose that coveted chew.
Kitchen Hack: Rotate the pan halfway through baking for an even color on both sides. This tiny move prevents one side from becoming overly crisp.Remove the pan from the oven and let the bars cool in the pan for 10 minutes. Then, using the parchment overhang, lift the whole slab onto a wire rack. Allow it to cool completely before cutting; this lets the bars set and the butterscotch pockets firm up. When you finally slice, use a sharp, warmed knife for clean cuts that don’t crumble.
That's it — you did it. But hold on, I've got a few more tricks that'll take this to another level, because a great bar deserves an unforgettable finish.
Insider Tricks for Flawless Results
The Temperature Rule Nobody Follows
Never bake these bars straight from the fridge. Let the batter sit at room temperature for 10‑15 minutes after mixing. This ensures the butter is not too cold, which can cause uneven spreading. I once baked a chilled batter and ended up with a dense, gummy center—lesson learned.
Why Your Nose Knows Best
Trust the aroma. When the edges turn a deep amber and you catch a buttery‑butterscotch scent drifting from the oven, the bars are ready. Visual cues can be deceptive, but your nose is a reliable indicator of caramelization.
The 5‑Minute Rest That Changes Everything
After removing the pan from the oven, let the bars rest for exactly five minutes before cutting. This short rest lets the interior set just enough to hold its shape while keeping the center chewy. Skipping this step leads to crumbly pieces that fall apart on the plate.
The Chill‑Before‑Bake Secret
After mixing, chill the batter for 15 minutes (as mentioned earlier). This firming step prevents the bars from spreading too thin, guaranteeing a thick, chewy bite every time. It also makes the batter easier to spread evenly in the pan.
Cutting Like a Pro
Heat a chef’s knife under hot water, dry it, and then slice. The warm blade glides through the caramelized top without dragging, giving you clean, uniform squares. A cold knife will tear the bars and ruin the presentation.
Storage Savvy
Store the bars in an airtight container with a piece of parchment between layers. This prevents them from sticking together and keeps the texture perfect for up to a week. If you need to freeze, wrap each bar individually in plastic wrap before placing them in a zip‑top bag.
Creative Twists and Variations
This recipe is a playground. Here are some of my favorite ways to switch things up:
Salted Caramel Crunch
Add ½ teaspoon of flaky sea salt on top before baking and fold in ¼ cup of crushed pretzels. The salty crunch contrasts the sweet chew, creating a sophisticated flavor profile that’s perfect for holiday gatherings.
Nutty Butterscotch
Stir in ½ cup of toasted pecans or walnuts with the chips. The nuts add a buttery crunch and a hint of earthiness that balances the sugary richness.
Chocolate‑Butterscotch Swirl
Melt ½ cup of semi‑sweet chocolate and swirl it through the batter before baking. The dark chocolate ribbons create a beautiful visual contrast and a flavor duet that’s hard to resist.
Spiced Autumn
Add ½ teaspoon of cinnamon and a pinch of nutmeg to the dry ingredients. This warm spice blend turns the bars into a cozy autumn treat, perfect for crisp evenings.
Berry Burst
Fold in ½ cup of dried cranberries or chopped dried apricots. The tartness of the fruit cuts through the sweetness, delivering a bright pop of flavor in every bite.
Gluten‑Free Version
Swap the all‑purpose flour for a 1‑to‑1 gluten‑free flour blend and add 1 tablespoon of xanthan gum. The texture remains chewy, and you won’t miss the wheat at all.
Storing and Bringing It Back to Life
Fridge Storage
Place the cooled bars in an airtight container and store them in the refrigerator for up to 7 days. The cool environment keeps the butter from going rancid and preserves the chewiness. When you’re ready to serve, let them sit at room temperature for 15 minutes or microwave for 10‑15 seconds for a warm, melty experience.
Freezer Friendly
Wrap each bar individually in plastic wrap, then place them in a freezer‑safe zip‑top bag. They’ll stay fresh for up to 3 months. To reheat, unwrap and microwave on medium power for 20 seconds, then let stand for a minute—add a tiny splash of water to the microwave dish to create steam and revive the softness.
Best Reheating Method
For a crisp edge and gooey center, reheat in a preheated 300°F oven for 5‑7 minutes. The gentle heat restores the caramelized crust while keeping the interior chewy. If you prefer a softer bar, cover the pan loosely with foil during reheating.