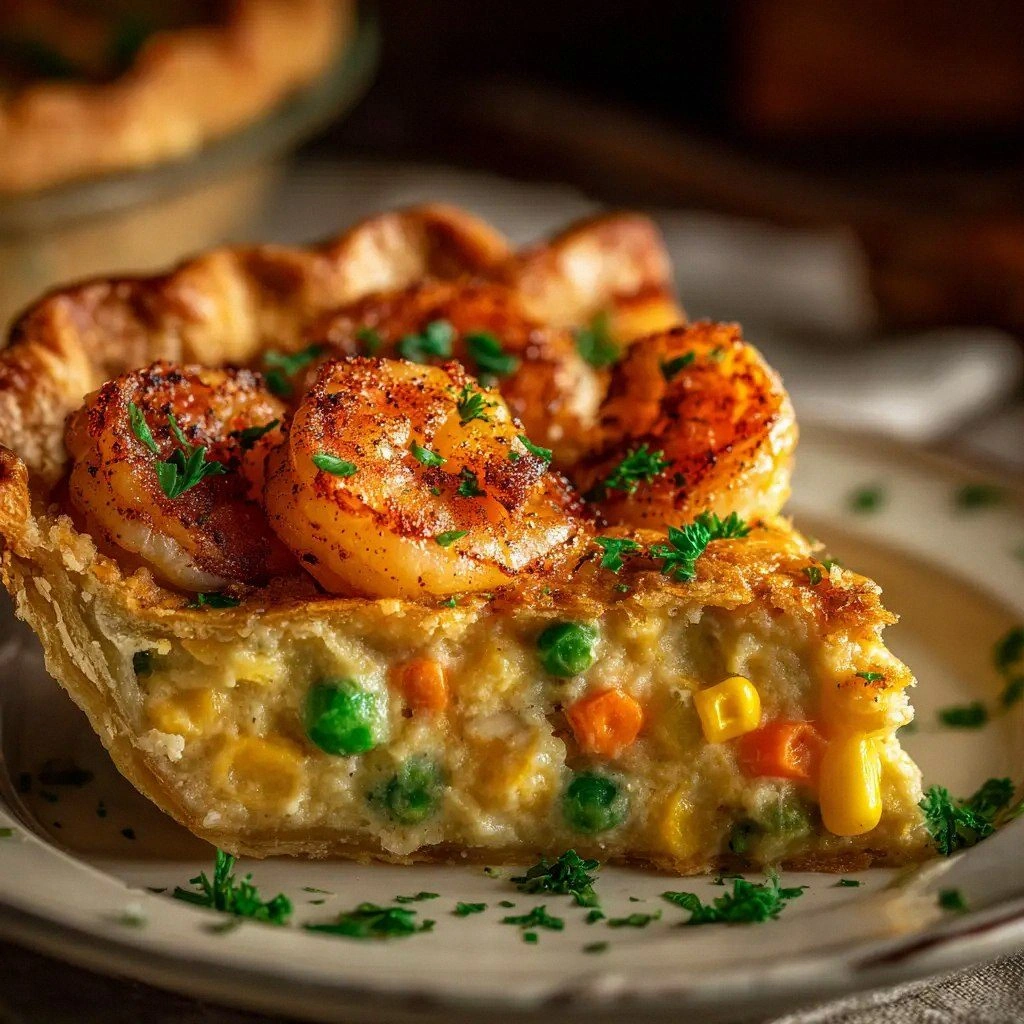
Picture this: you’re in a cramped kitchen, the oven door slams shut behind you, and the timer on your phone rings like a tiny alarm clock. You’re staring at a 9‑inch pie crust that looks like it’s seen better days, a handful of shrimp that still have that sweet ocean whisper, and a handful of cheddar that dreams of melting into a golden blanket. That night, a friend dared you to turn a simple shrimp dish into the ultimate comfort food. You laughed, shrugged, and decided to test the dare.
What followed was nothing short of culinary alchemy. As the shrimp sizzled in butter, the aroma rose like a promise, thick and savory, mingling with the sweet scent of onions and garlic. The sizzling sound was a metronome, each pop a drumbeat to the flavor symphony about to unfold. When the cheese began to melt, it turned the mixture into a glossy, velvety sauce that clung to every bite. The crust, baked to a golden‑brown edge, offered a flaky, buttery crunch that balanced the creamy filling. The final result? A dish that feels like a hug in a plate.
I dare you to taste this and not go back for seconds. I’ve been told that the first bite sends a wave of satisfaction that lingers, and the second bite is a guilty pleasure you’ll admit to yourself only when the plate is empty. It’s the kind of dish that turns a casual dinner into a celebration, and the best part? You can make it at home with a handful of pantry staples.
Let me walk you through every single step — by the end, you’ll wonder how you ever made it any other way. This recipe is the culmination of trial, error, and a relentless pursuit of that perfect balance between creamy, cheesy, and briny. From the way the crust crisps to the way the shrimp stays tender, every detail is intentional. And trust me, once you try it, you’ll find yourself reaching for the recipe card again and again.
What Makes This Version Stand Out
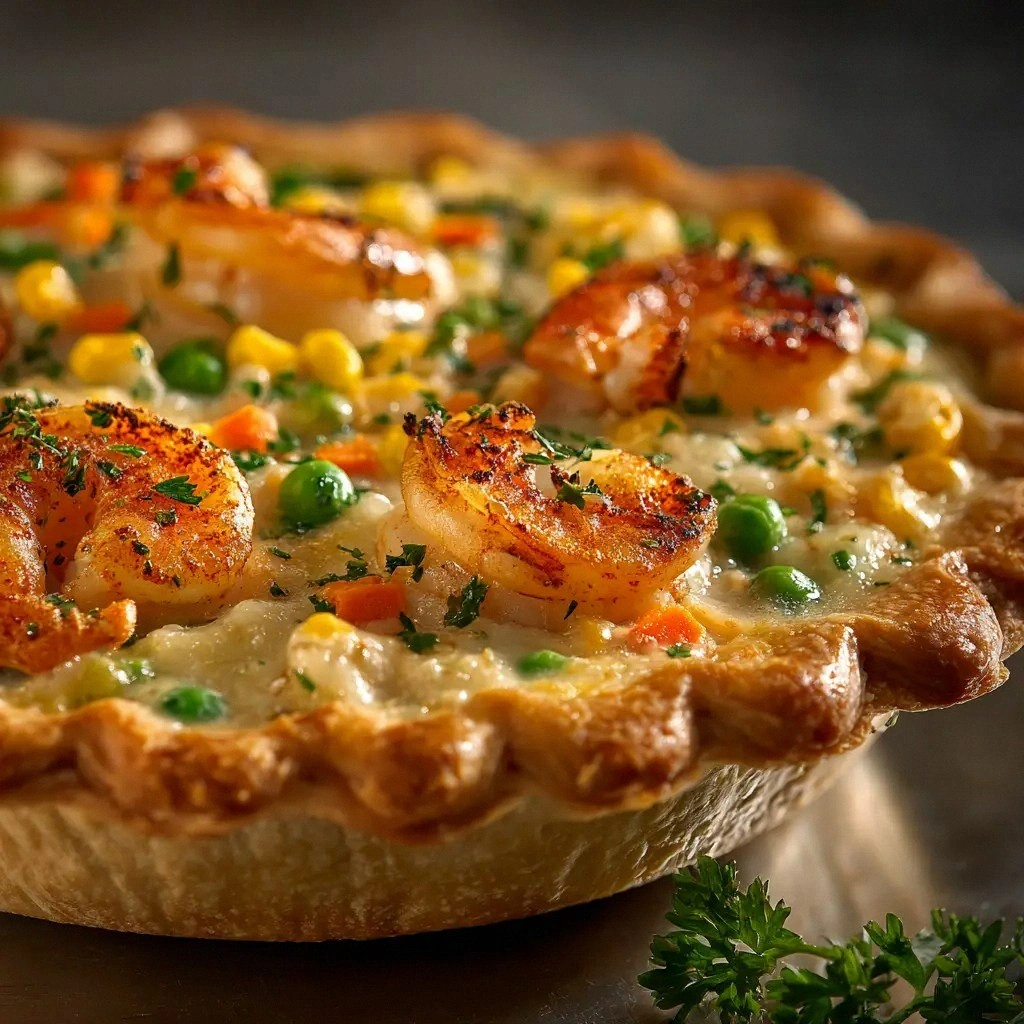
- Flavor: The shrimp’s natural sweetness is amplified by the sharp cheddar, creating a savory‑sweet harmony that’s hard to resist.
- Texture: A buttery, flaky crust meets a silky, cheese‑laden filling, delivering a contrast that excites the palate.
- Ease: With a pre‑made pie crust and minimal prep, you’re ready to cook in under 45 minutes.
- Flexibility: Swap the shrimp for scallops, chicken, or even a plant‑based protein for a different twist.
- Crowd‑Pleaser: This pie is perfect for family dinners, potlucks, or impressing guests with a show‑stopping entrée.
- Make‑Ahead: Assemble the pie a day early, refrigerate, and bake when you’re ready—no last‑minute rush.
Alright, let's break down exactly what goes into this masterpiece...
Inside the Ingredient List
The Flavor Base
The 9‑inch refrigerated pie crust is the canvas. It’s pre‑baked to a golden‑brown edge, ensuring that it stays crisp even after the filling settles. If you can’t find a pre‑baked crust, simply roll out a fresh dough and bake it for 10 minutes at 375°F before adding the filling. This step guarantees a buttery foundation that won’t sog.
Butter is the next star. It’s melted over low heat with onions and garlic, creating a fragrant base that infuses the shrimp with richness. The butter also helps the crust brown evenly, giving it that desirable golden color. A tablespoon is enough to coat the bottom of your pan without overwhelming the shrimp’s delicate flavor.
The Texture Crew
Shredded sharp cheddar is the heart of the pie. It melts into a glossy sauce that clings to the shrimp, creating a mouth‑watering, velvety coating. The sharpness of the cheese adds a tang that balances the sweetness of the shrimp. If you prefer a milder cheese, try a blend of cheddar and mozzarella for a creamier texture.
Eggs bind the mixture together, preventing the filling from becoming runny. They also add a subtle richness that elevates the dish from ordinary to extraordinary. When whisked with half‑and‑half, the eggs create a custard‑like consistency that sets beautifully in the oven. If you’re vegan, substitute with a plant‑based custard mix, but the texture will differ slightly.
The Unexpected Star
Half‑and‑half is the liquid that gives the pie its creamy, custard‑like mouthfeel. It’s the sweet spot between milk and cream, providing just enough richness without overpowering the other flavors. If you’re watching calories, a splash of heavy cream or a light milk alternative can work, but the taste profile will shift.
The Final Flourish
Fresh parsley adds a burst of color and a hint of herbal brightness that cuts through the richness. It’s the final touch that brings the dish together, giving it a fresh, vibrant finish. A pinch of salt and a dash of black pepper season the filling to perfection, ensuring every bite is balanced and flavorful. The parsley also adds a subtle crunch that contrasts with the creamy filling.
Everything's prepped? Good. Let's get into the real action...
The Method — Step by Step
- Preheat your oven to 375°F (190°C). Place the pre‑baked pie crust in a 9‑inch pie dish, pressing it gently into the bottom and up the sides. This creates a sturdy base that will hold the filling without cracking.
- In a large skillet, melt the tablespoon of butter over medium heat. Add the chopped onion and sauté until translucent, about 4 minutes. The onions should soften and release their natural sweetness, creating a fragrant foundation.
- Add the minced garlic to the skillet and cook for 30 seconds, just until fragrant. Be careful not to burn the garlic; a quick stir and removal from heat is key. The aroma should be intense but not bitter.
- Introduce the shrimp to the skillet. Sauté for 2–3 minutes on each side until they turn pink and opaque. The shrimp should be cooked through but still tender, not rubbery. If you’re using frozen shrimp, thaw them first to ensure even cooking.
- In a separate bowl, whisk the eggs and half‑and‑half together until well blended. Add the shredded cheddar, salt, black pepper, and chopped parsley. Mix until the cheese is evenly distributed, creating a cohesive custard mixture.
- Pour the egg‑cheese mixture over the shrimp in the skillet, stirring gently to combine. Let it simmer for 1–2 minutes, allowing the flavors to meld. The mixture should thicken slightly, forming a silky sauce that coats the shrimp.
- Transfer the entire mixture into the prepared pie crust. Spread it evenly with a spatula to ensure the filling covers the bottom and sides of the crust. This step is crucial for a uniform bake.
- Place the pie in the preheated oven and bake for 25–30 minutes, or until the filling is set and the top is lightly golden. The crust should remain crisp, and the edges should pull away slightly, indicating a perfectly baked pie.
- Remove the pie from the oven and let it rest for 10 minutes before slicing. This rest period allows the filling to firm up, making it easier to cut clean slices. Serve hot, accompanied by a crisp green salad or steamed veggies.
That's it — you did it. But hold on, I've got a few more tricks that'll take this to another level...
Insider Tricks for Flawless Results
The Temperature Rule Nobody Follows
Many cooks bake at 350°F, but 375°F gives a crispier crust and a more evenly cooked filling. The higher temperature ensures the cheese melts quickly, creating that coveted golden top. If you’re worried about burning, cover the pie with foil for the last 5 minutes and then remove the foil to finish browning.
Why Your Nose Knows Best
When the pie comes out of the oven, the scent should be a buttery, cheesy perfume with a hint of sea salt. If the aroma is flat, it usually means the shrimp wasn’t cooked enough or the cheese wasn’t fully melted. Trust your nose; it’s the best judge of flavor.
The 5-Minute Rest That Changes Everything
Letting the pie sit for 5–10 minutes after baking allows the custard to set, preventing a runny mess when you slice. It also lets the flavors meld, so each bite is a harmonious blend of savory and sweet. Skipping this step often results in a pie that feels undercooked.
Use a Pie Dish with a Lid
Covering the pie with a lid or foil while baking keeps moisture trapped, ensuring the filling stays creamy. Once the lid is removed, the top will brown beautifully. This trick is especially useful if you’re using a lower‑quality crust that tends to dry out.
Finish with a Sprinkle of Extra Cheese
Adding a thin layer of shredded cheddar on top before the last 5 minutes of baking gives a melty, golden finish. It also creates a slight crunch as the cheese caramelizes. A pinch of paprika can add a subtle smoky note.
Creative Twists and Variations
This recipe is a playground. Here are some of my favorite ways to switch things up:
Smoky Chipotle Cheddar
Swap the sharp cheddar for chipotle‑infused cheddar to introduce a subtle smoky heat. The chipotle adds depth and pairs beautifully with the briny shrimp. Serve with a side of avocado salsa to balance the spice.
Herb‑Infused Shrimp
Marinate the shrimp in lemon zest, thyme, and oregano before sautéing. The herbs infuse the shrimp with bright, aromatic flavors that complement the cheese. This version feels like a Mediterranean escape.
Veggie‑Loaded Version
Add diced bell peppers, spinach, or broccoli to the filling for extra color and nutrition. The veggies add a sweet crunch that contrasts the creamy base. This twist makes the dish more family‑friendly.
Low‑Carb Crust
Use a cauliflower crust instead of the traditional pie crust for a low‑carb option. The cauliflower crust offers a mild, nutty flavor that pairs well with the cheddar. It’s a great way to keep the dish keto‑friendly.
Vegan Cheddar Pie
Replace the eggs and half‑and‑half with a plant‑based custard made from silken tofu and nutritional yeast. Use vegan cheddar for the filling. This version maintains the creamy texture while being cruelty‑free.
Seafood Medley
Mix in scallops, mussels, or crab with the shrimp for a luxurious seafood medley. The different textures create a complex, indulgent bite. This is perfect for a special occasion dinner.
Storing and Bringing It Back to Life
Fridge Storage
Cool the pie completely before refrigerating. Store in an airtight container for up to 3 days. The crust may soften slightly, but the filling will stay firm. When ready to serve, reheat in a preheated 350°F oven for 10 minutes.
Freezer Friendly
Wrap the assembled pie tightly in plastic wrap and then in foil. Freeze for up to 2 months. To reheat, thaw overnight in the fridge, then bake at 350°F for 25 minutes. The crust will regain its crispness.
Best Reheating Method
For a quick warm-up, microwave on medium for 2 minutes, then transfer to a 350°F oven for 5 minutes to restore crispness. Adding a splash of water before microwaving creates steam, keeping the filling moist and preventing it from drying out.