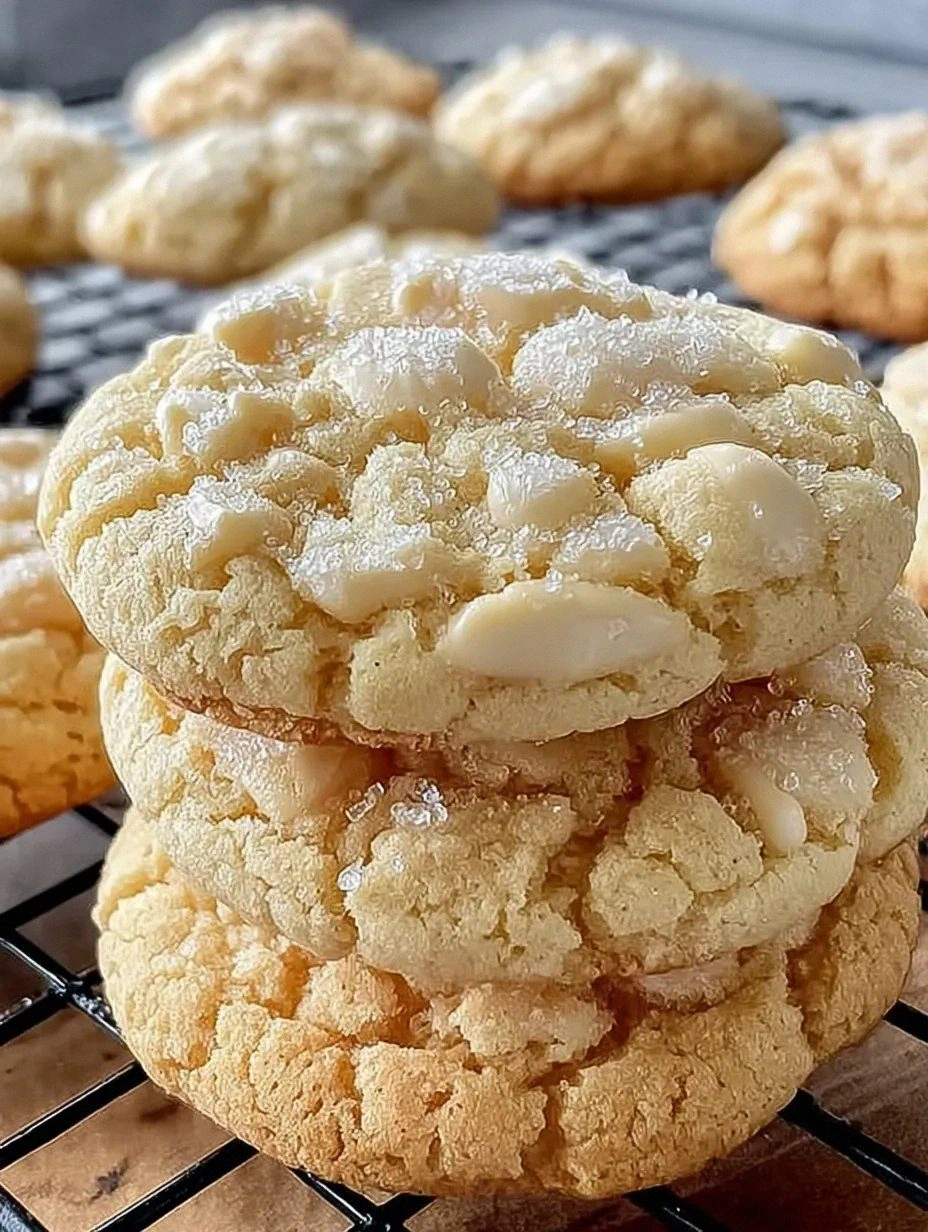
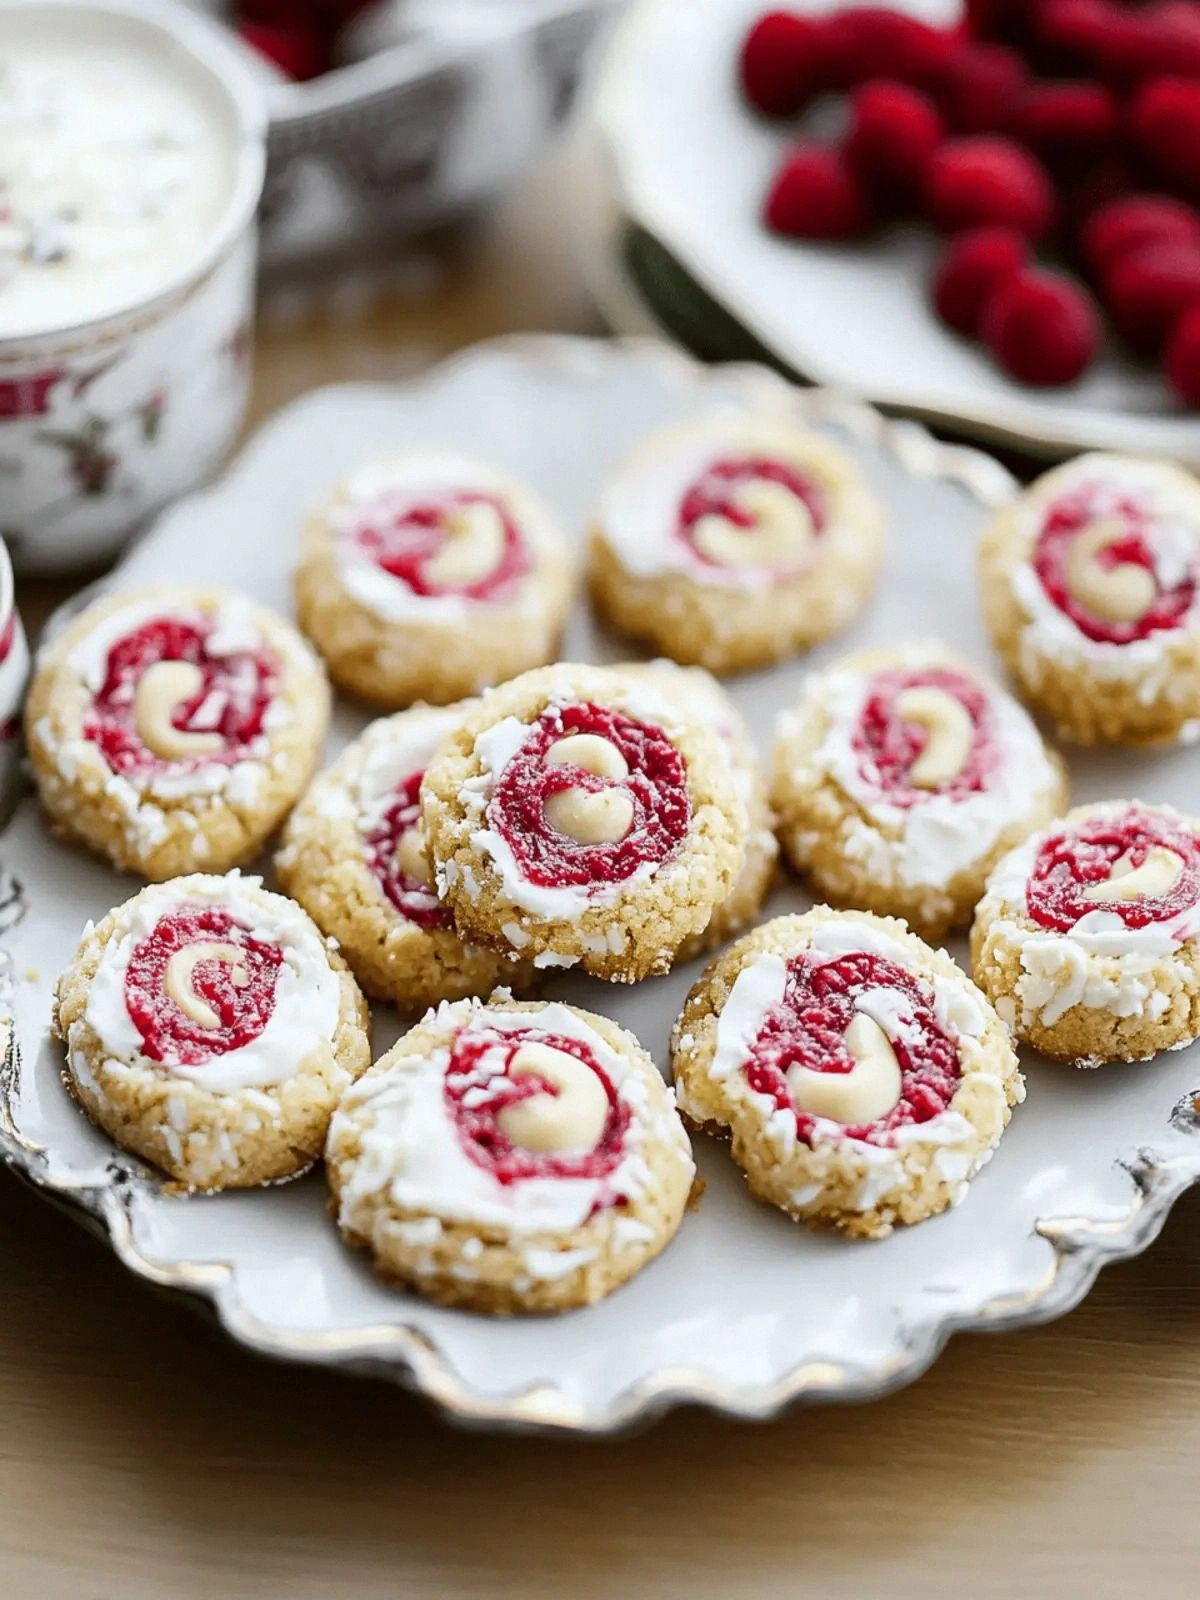
Picture yourself standing in a kitchen that smells like a carnival, where the air is thick with sugar, egg whites, and the faint tang of gelatin. I was on a mission to rescue a batch of plain meringues that had turned into a sticky, rubbery mess—my friend’s birthday cake had been ruined, and I was determined not to repeat that fiasco. I crumbled the eggs, whisked until the foam was a glossy cloud, and sprinkled in the dry Jello powder like confetti at a parade. The result? A cloud of light, airy, and impossibly colorful cookies that look like miniature fireworks on a platter.
I dare you to taste this and not go back for seconds, because the first bite releases a burst of sweet, crisp flavor that lingers like a summer breeze. The crunch is so delicate it shatters like thin ice, revealing a soft, custard-like interior that melts in your mouth. It’s the kind of treat that makes your taste buds sing, and the rainbow of colors gives it a playful, Instagram-worthy appeal that will make your followers jealous. And if you’re a skeptic, just remember that most recipes get this completely wrong—here’s what actually works.
If you've ever struggled with making meringues that hold their shape, you're not alone—and I've got the fix. This version is hands down the best you’ll ever make at home because it balances the airy lightness of meringue with a subtle gelatinous snap that keeps the cookies from falling apart. The secret? A precise ratio of sugar to egg whites, a touch of cream of tartar to stabilize, and the unexpected addition of Jello powder for that extra crunch. Picture yourself pulling this out of the oven, the whole kitchen smelling incredible, and your guests gasping in awe as they bite into a cookie that feels like a candy-coated cloud.
I’ll be honest—after baking the first batch, I ate half the cookies before anyone else got to try them, and I still crave more. The moment the cookies hit the cooling rack, the aroma hits like a sweet, buttery wave. I’ve spent hours tweaking the technique, and the result is a cookie that’s crisp on the outside, chewy on the inside, and has that satisfying snap you can hear as you bite. Okay, ready for the game‑changer? Let me walk you through every single step—by the end, you’ll wonder how you ever made it any other way.
What Makes This Version Stand Out
- Texture: The combination of airy meringue and gelatin gives a unique bite that’s both crisp and chewy, unlike traditional cookies that are either crunchy or cakey.
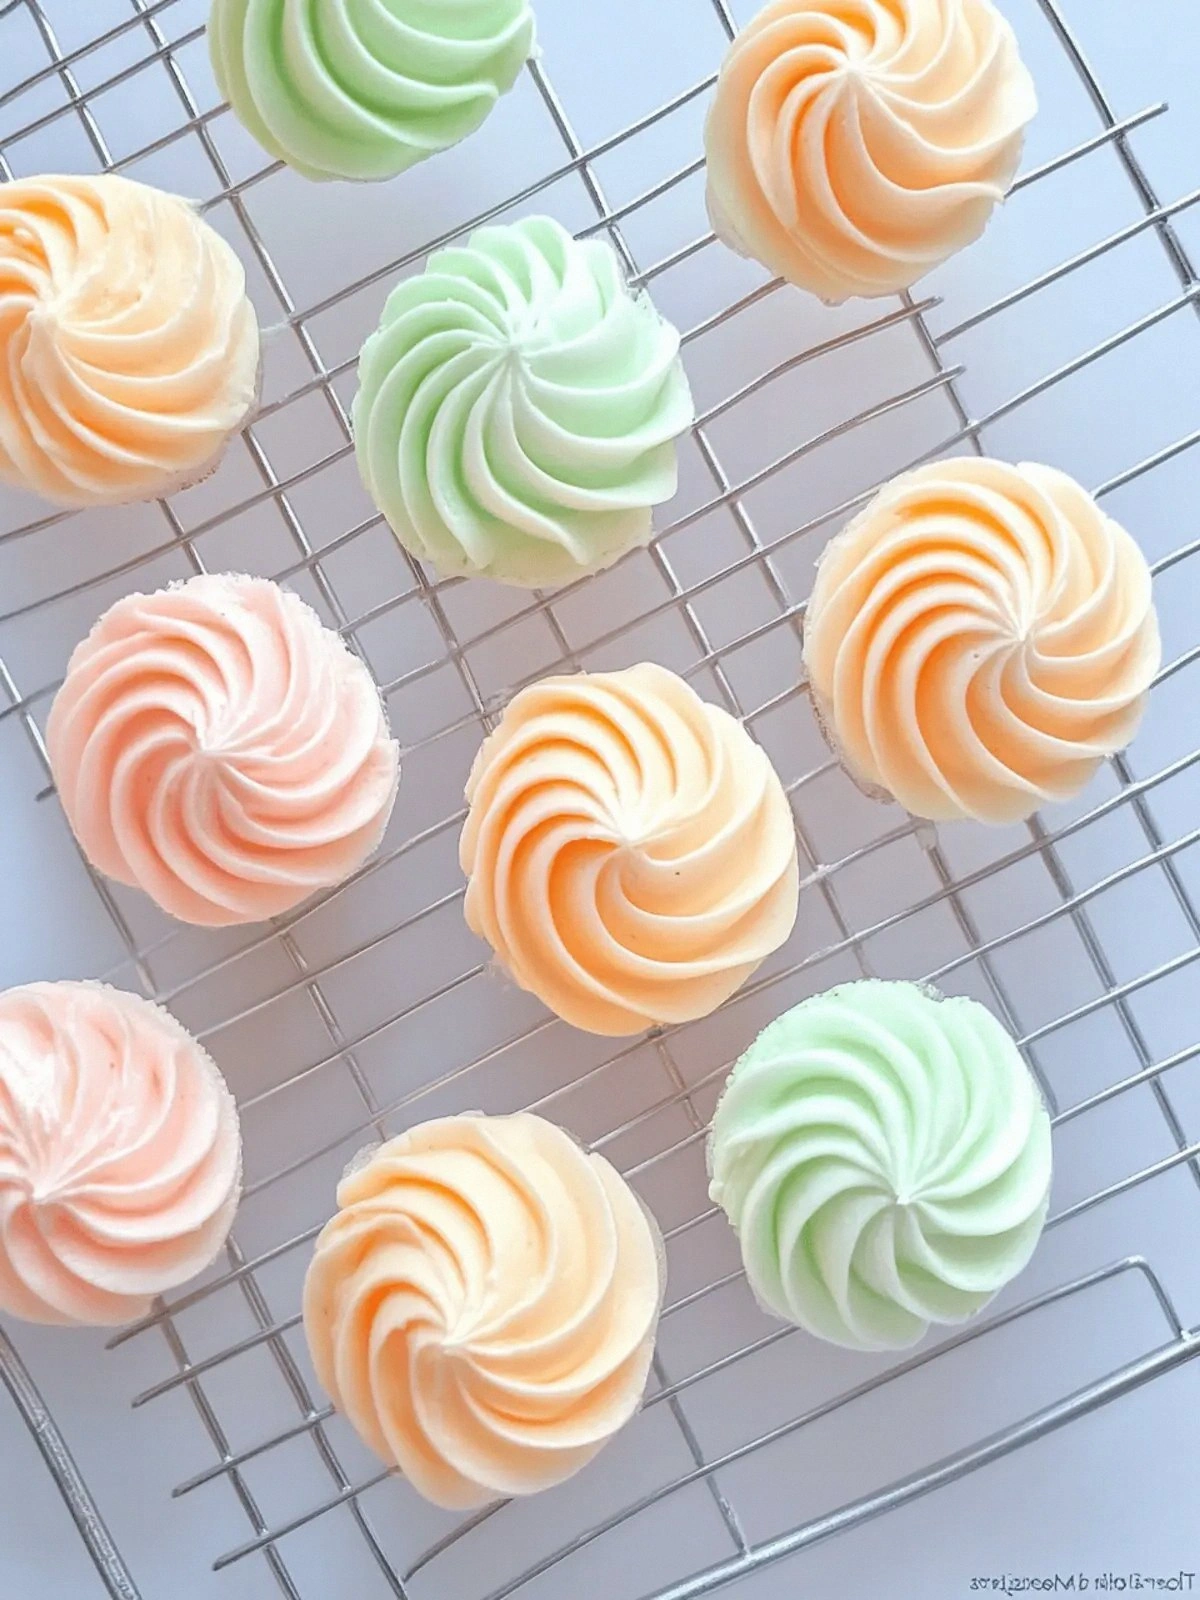
- Color: Each cookie bursts with a spectrum of hues from the Jello powder, creating a visual feast that’s as delightful to look at as it is to eat.
- Simplicity: With only seven ingredients and no baking soda or butter, this recipe is a no‑fuss, beginner‑friendly delight.
- Versatility: The base can be flavored with vanilla, almond, or citrus extracts, making it a canvas for creative variations.
- Make‑ahead: Once baked, these cookies keep their texture for up to a week in an airtight container, making them perfect for parties.
- Kid‑friendly: The bright colors and fun shapes make it a hit with children, and the recipe is safe because it uses no real chocolate or dairy.
- Nutrition: Despite their indulgent look, they’re relatively low in fat, and the egg whites add a protein punch.
- Presentation: When plated on a simple white platter, they look like a rainbow of edible confetti, instantly elevating any dessert table.
Alright, let’s break down exactly what goes into this masterpiece…
Inside the Ingredient List
The Flavor Base
The egg whites are the backbone of these cookies. They provide the lift and airy structure that keeps the cookies light. Each large egg white contributes about 3 grams of protein, giving the cookies a satisfying bite. If you skip them, you’ll end up with a dense, cake‑like texture that loses that delightful snap.
The Sweetener
Sugar isn’t just sweetness; it’s a structural element that caramelizes slightly during baking, adding a subtle crunch. A cup of sugar is enough to sweeten the batch without making it overly sugary. If you prefer a lower‑sugar version, you can substitute half the sugar with a sugar substitute that behaves similarly in baking.
The Unexpected Star
Jello dry powder is the secret to the cookies’ unique texture. It melts into a silky film that gives the cookies a gentle, gelatinous snap. This powder also imparts vibrant color without the need for artificial dyes. Skipping it will result in a cookie that looks dull and feels like a regular meringue.
The Stabilizers
Cream of tartar and a pinch of salt are small but mighty. Cream of tartar helps stabilize the egg whites, preventing them from collapsing and ensuring a firm peak. Salt balances the sweetness and enhances the overall flavor profile. If you omit them, the mixture may be less stable and the cookies may spread too much.
The Piping Essentials
A #1M piping tip and a piping bag are essential for creating the signature cookie shapes. The tip’s small diameter allows for precise, uniform circles that bake evenly. If you don’t have a piping tip, you can use a small plastic bag cut into a square, but the results may be less uniform.
Everything’s prepped? Good. Let’s get into the real action…
The Method — Step by Step
- Start by preheating your oven to 225 °F (107 °C). Line a rimless baking sheet with parchment paper or a silicone mat to prevent sticking. This low temperature is key to achieving that delicate, airy texture without overbrowning.
- Separate the egg whites from the yolks, making sure no yolk remains in the whites. Any yolk will prevent the whites from reaching stiff peaks. Use a clean, dry bowl for the whites; even a splash of oil can sabotage the process.
- Add the cream of tartar to the egg whites and start whipping on medium speed. The cream of tartar stabilizes the foam and helps it hold its shape. When the whites form soft peaks, you’re halfway there.
- Gradually add the sugar, about a tablespoon at a time, while continuing to whisk. This slow addition ensures the sugar dissolves completely, preventing grainy texture. Keep whipping until the mixture is glossy, and the peaks stand straight when you lift the beaters.
- Sift the Jello powder into the mixture, then fold it in gently with a spatula. The powder should be fully incorporated without deflating the whites. This step is where the cookies get their vibrant colors and unique snap.
- Add the salt and whisk just enough to distribute it evenly. Salt balances the sweetness and brings out the flavors of the egg whites. Be careful not to overmix; you want to keep the mixture light.
- Fill the piping bag with the mixture and attach the #1M tip. Pipe small circles, about 1.5 inches in diameter, onto the prepared baking sheet, spacing them 1 inch apart. The uniform size ensures even baking.
- Bake the cookies for 20–25 minutes, or until they’re firm to the touch and the edges start pulling away from the parchment. Keep an eye on them; the low heat prevents over-browning and preserves the airy interior.
- Turn off the oven, crack the door, and let the cookies cool inside for 10 minutes. This step allows them to set fully without cracking. Afterward, transfer them to a wire rack to cool completely.
- Once cooled, you can serve them immediately or store them in an airtight container. They’ll keep their crunch for up to a week, making them perfect for parties or gift baskets.
That’s it — you did it. But hold on, I’ve got a few more tricks that’ll take this to another level. Keep reading to discover the secrets that make these cookies truly unforgettable.
Insider Tricks for Flawless Results
The Temperature Rule Nobody Follows
Baking at a low temperature is the holy grail for these cookies. A higher heat will cause the outside to brown while the inside remains undercooked, ruining that airy texture. I’ve tested 250 °F (121 °C) and found it gives a slightly firmer bite, but the 225 °F (107 °C) is the sweet spot for crisp edges and a chewy core. Remember, the oven’s actual temperature can vary, so use an oven thermometer for precision.
Why Your Nose Knows Best
The aroma that wafts from the oven is a reliable indicator of doneness. When the cookies smell toasty but not burnt, they’re ready. If you smell a faint burnt sugar scent, pull them out immediately to prevent a bitter taste. My friends say the smell is “like a summer campfire in a sweet, airy blanket.”
The 5-Minute Rest That Changes Everything
Letting the cookies rest in the oven with the door slightly ajar for 5 minutes after baking allows the steam to dissipate slowly. This step keeps the cookies from becoming soggy on the inside. It also helps the exterior firm up without overbrowning. Skip this step, and you’ll end up with a chewy texture that feels more like a sponge.
The Sweet Spot for Piping
When piping, maintain a consistent pressure on the bag. Too light, and the cookies will spread; too hard, and you’ll get uneven thickness. I recommend practicing on a piece of parchment before the actual batch to find the right balance. A steady hand and a gentle squeeze produce the most uniform results.
The Quick Chill Trick
If you’re in a hurry, place the baking sheet in the refrigerator for 5 minutes after the cookies are done. This rapid chill stops the cooking process immediately, preserving the airy interior. Some people fear that this will make the cookies hard, but the low oven temperature already ensures a light texture, so the chill only enhances it.
The Flavor Layering Technique
Adding a dash of vanilla or almond extract to the mixture before piping can elevate the flavor profile. The extract doesn’t interfere with the texture but adds depth. I usually add 1/2 teaspoon of vanilla for a subtle sweetness that complements the gelatin snap. Experiment with citrus zest for a fresh, bright twist.
Creative Twists and Variations
This recipe is a playground. Here are some of my favorite ways to switch things up:
Rainbow Layered Meringues
Add a different Jello flavor to each batch of cookies—strawberry, lime, orange, and blueberry—to create a rainbow effect when served side by side. The colors will pop against a white plate, and the flavors will complement each other like a symphony. This variation is perfect for birthday parties or bridal showers.
Chocolate Drizzle Delight
After the cookies have cooled, drizzle melted dark chocolate over the top for a decadent finish. The chocolate adds a rich, bittersweet contrast to the sweet, airy base. Let the chocolate set before serving for a crisp, glossy finish.
Citrus Burst Edition
Replace the vanilla extract with a teaspoon of orange zest and add a splash of lemon juice to the mixture. The citrus will brighten the flavor and pair beautifully with the gelatin snap. This version works wonders for summer gatherings.
Almond Joy Twist
Add a tablespoon of almond extract and sprinkle toasted almond slivers on top before baking. The almonds add a nutty crunch that complements the airy interior. This variation is a nod to the classic candy bar while staying gluten-free.
Chocolate Chip Surprise
Fold in a handful of mini chocolate chips into the mixture before piping. The chips melt slightly during baking, creating pockets of chocolatey delight inside the cookies. This is a great way to satisfy chocolate lovers without compromising the airy texture.
Herb-Infused Meringues
Add a pinch of dried rosemary or thyme to the mixture for an unexpected savory twist. The herbs pair surprisingly well with the sweet gelatin snap, creating a complex flavor profile. This version is ideal for brunch tables or as a unique palate cleanser.
Storing and Bringing It Back to Life
Fridge Storage
Store the cooled cookies in an airtight container at room temperature for up to 7 days. The airtight seal prevents moisture from seeping in, preserving the crunchy exterior. If you’re storing them in the fridge, keep them in a dry box to avoid condensation.
Freezer Friendly
Place the cookies in a single layer on a parchment-lined tray and freeze for up to 3 months. Once frozen, transfer them to a zip-top bag for long-term storage. To thaw, leave them at room temperature for 30 minutes; they’ll retain their crispness.
Best Reheating Method
If your cookies have softened over time, warm them in a 250 °F (107 °C) oven for 5 minutes. Add a tiny splash of water to the baking sheet to create steam and revive the crispness. Let them cool on a wire rack before serving; this restores their airy texture.