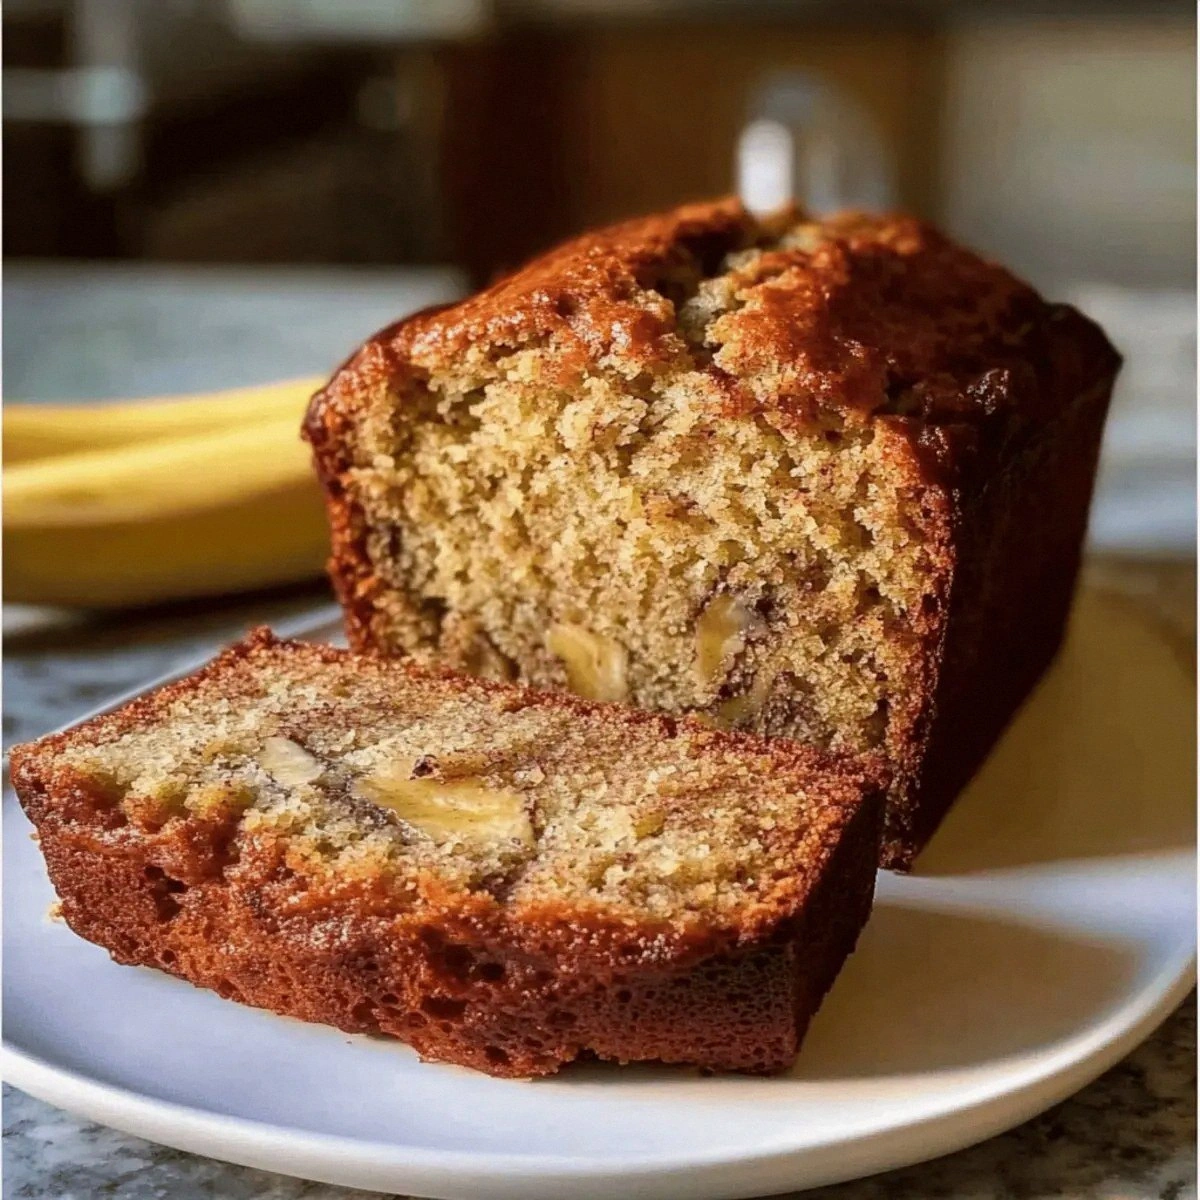
I remember the night I tried to make banana bread for my roommate’s birthday and ended up with a half‑baked, rubbery mess that tasted like a banana‑flavored rubber band. I was staring at the oven, feeling the sting of disappointment, when the idea hit me: why not turn that disaster into a creamy, layered dessert that would make every bite feel like a sweet, buttery hug? I dared myself to experiment with a new twist, adding whipped cream, a crunchy graham cracker base, and a splash of vanilla that turned the whole thing into a silky, caramel‑like cloud that melts in your mouth. That single night, I discovered a recipe that would become my secret weapon for impressing friends and family alike. The moment you bite into the first layer, you’ll taste the ripe bananas’ natural sweetness, followed by the airy, fragrant cream, and then that satisfying crunch that breaks like thin ice. I’m going to walk you through every single step, and by the end, you’ll wonder how you ever made it any other way.
What Makes This Version Stand Out
- Flavor: The bananas are the star, but the vanilla extract lifts the entire profile, creating a comforting, homemade aroma that lingers long after you finish eating.
- Texture: The contrast between the velvety cream and the crunchy graham cracker base delivers a sensory experience that feels both indulgent and satisfying.
- Simplicity: You only need six core ingredients, no exotic spices or hard‑to‑find items, making it perfect for a quick weekend treat.
- Uniqueness: Most banana desserts lean toward cakes or pies; this version layers flavors in a way that feels like a parfait but with the richness of a cheesecake.
- Crowd Reaction: Friends who have tried it say it’s “hands down the best version you'll ever make at home,” and they keep asking for seconds.
- Ingredient Quality: Using ripe bananas, heavy cream, and high‑quality graham crackers elevates the dish from ordinary to extraordinary.
- Make‑ahead Potential: Assemble it a day before and let it chill; the flavors meld beautifully, making it a great make‑ahead dessert.
- Health Flexibility: Swap the heavy cream for Greek yogurt for a lighter version without sacrificing taste.
Inside the Ingredient List
The Flavor Base
Ripe Bananas: These are the foundation of the dessert. Their natural sweetness and buttery texture give the dish a depth that no artificial flavoring can match. If you use underripe bananas, the final taste will be bland and the texture will be mushy. For maximum flavor, choose bananas that have a few brown spots; they’re sweeter and easier to mash.
The Texture Crew
Heavy Cream: This ingredient is what turns the banana puree into a silky, cloud‑like layer that feels luxurious on the tongue. If you’re watching calories, swap it for Greek yogurt; the tanginess will add a new dimension. Skipping the cream will result in a dry, uncooperative dessert that won’t hold together.
The Unexpected Star
Vanilla Extract: A splash of vanilla elevates the entire dish, creating a comforting aroma that lingers. It also balances the natural sweetness of the bananas, preventing the dessert from becoming cloying. If you’re allergic to vanilla, a pinch of almond extract can provide a subtle alternative.
The Final Flourish
Crushed Graham Crackers: These form the crunchy base that contrasts the creamy layers. They also act as a binder, keeping the dessert together. If you’re allergic to wheat, use gluten‑free graham crackers or crushed rice crackers.
Everything’s prepped? Good. Let’s get into the real action.
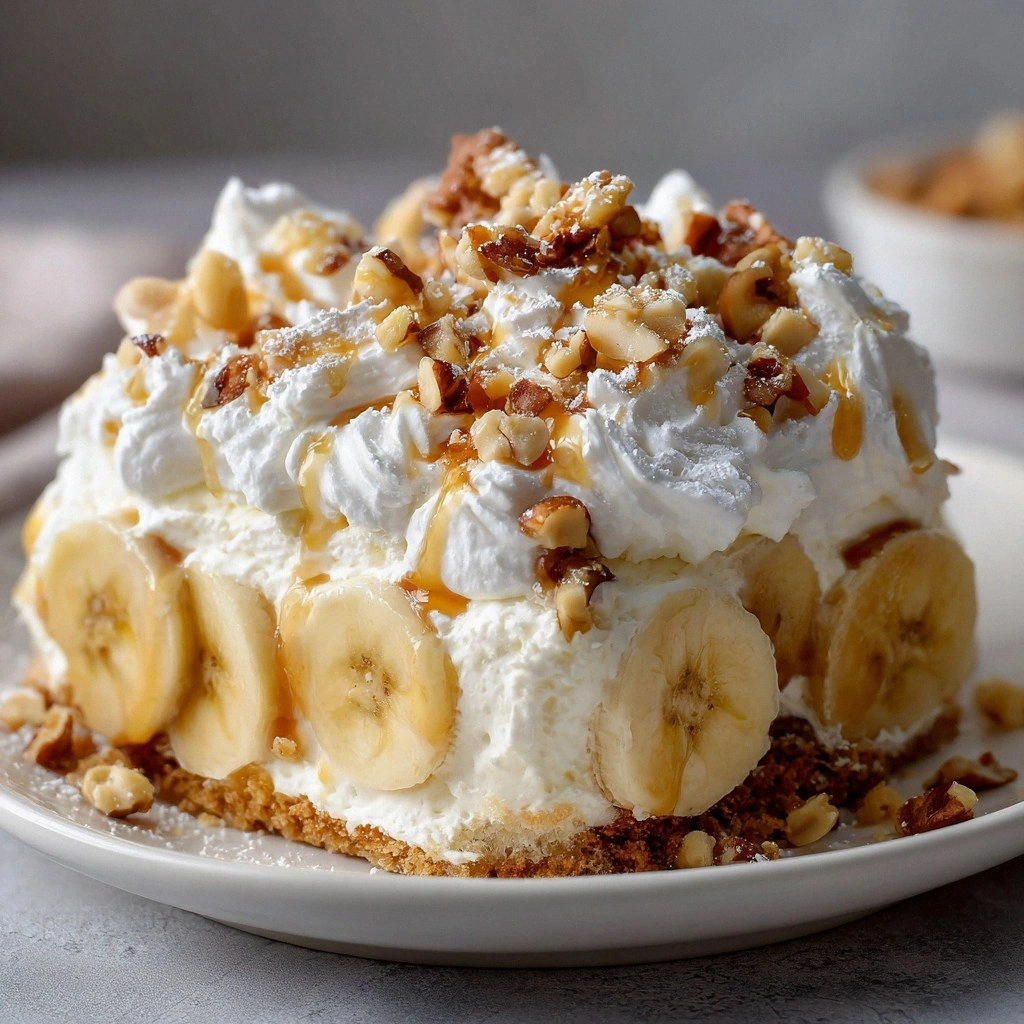
The Method — Step by Step
- Prep the Base: Spread a thin layer of crushed graham crackers at the bottom of a 9‑inch springform pan. The crackers should be evenly distributed; if you’re feeling adventurous, sprinkle a few chopped nuts on top for added crunch. This step is crucial because it locks the layers together and gives the dessert its signature texture. If you skip it, the layers may slide apart and ruin the presentation.
- Mash the Bananas: In a large bowl, mash the ripe bananas with a fork until they’re almost smooth. The goal is a thick, creamy consistency that will hold the cream layer. If you prefer a smoother texture, pulse the bananas in a blender for 10 seconds, but be careful not to over‑blend. This will make the base more cohesive.
- Whip the Cream: In a separate bowl, whip the heavy cream until soft peaks form. Add the powdered sugar and vanilla extract, then continue whipping until stiff peaks appear. The whipped cream should be airy and light, providing a perfect contrast to the dense banana layer. If you’re using Greek yogurt, whisk it until smooth before adding sugar and vanilla.
- Combine: Gently fold the mashed bananas into the whipped cream until fully incorporated. The mixture should be glossy and thick enough to hold its shape when spooned. This is the moment of truth; the batter should feel like a creamy mousse, not a runny pudding. If the mixture is too thin, let it chill for 10 minutes before proceeding.
- Layer the Dessert: Spoon a generous amount of the banana‑cream mixture over the graham cracker base, spreading it evenly. If you’re adding nuts, sprinkle them on top of the first layer for an extra burst of flavor. This layer should be smooth and level; use a spatula to even it out. This is where the layers start to feel like a parfait.
- Chill: Cover the pan with plastic wrap and refrigerate for at least 30 minutes, or until the mixture sets. The cold will firm up the layers, making them easier to slice. If you’re short on time, you can chill for 20 minutes, but the dessert will be slightly softer.
- Second Layer: Repeat the layering process with the remaining banana‑cream mixture, ensuring a smooth top. If you want a glossy finish, gently swirl the top with a toothpick or a small whisk. The second layer should be as smooth as the first; a rough top will make the dessert look unfinished.
- Final Chill: Return the pan to the refrigerator and chill for at least 2 hours, or overnight if possible. The longer it chills, the firmer the dessert will be, making it easier to slice cleanly. When you’re ready to serve, run a knife around the edge of the pan before removing the springform to avoid sticking.
- Serve: Slice the dessert into even portions. If you want to add a finishing touch, drizzle a little extra vanilla sauce or top with fresh banana slices. The dessert can also be served with a dollop of whipped cream on top for an extra indulgent experience. Enjoy the silky, creamy texture with a satisfying crunch that shatters like thin ice.
That’s it — you did it. But hold on, I’ve got a few more tricks that’ll take this to another level.
Insider Tricks for Flawless Results
The Temperature Rule Nobody Follows
Always chill the whipped cream before adding the bananas. Cold cream whips better and stays airy longer, which means the final dessert will maintain its fluffy texture. If you use warm or room‑temperature cream, it will lose volume and become heavy. I once tried it at room temperature and the dessert collapsed after a few minutes. Keep the cream cold, and you’ll have a light, cloud‑like dessert that stays intact.
Why Your Nose Knows Best
Before you begin, give the bananas a quick sniff. A sweet, almost caramel aroma indicates ripeness. If they smell sour, they’re overripe and will add a bitter edge. The banana aroma is the first cue that the dessert will taste like a sweet, buttery dream. Trust your nose, and the results will follow.
The 5-Minute Rest That Changes Everything
After folding the bananas into the whipped cream, let the mixture rest for 5 minutes before pouring it onto the base. This pause allows the flavors to meld and the texture to thicken slightly. I’ve seen people skip this step, and the mixture ends up too runny, making it hard to layer. A quick rest is the secret to a stable, beautiful dessert.
Layering with Love
When you spoon the banana‑cream mixture, use a spatula to spread it evenly. If you let it pile up unevenly, the dessert will have a lopsided appearance. I once had a top layer that was lumpy, and it looked like a mountain of banana. Smoothness is key to a polished look.
Finishing Touches
Just before serving, drizzle a thin line of vanilla glaze over the top. This adds a glossy finish and a subtle sweet kick. If you’re feeling fancy, sprinkle a pinch of sea salt on the glaze; it will create a sweet‑salty contrast that elevates the flavor profile. The glaze is optional, but it makes the dessert feel more decadent.
Creative Twists and Variations
This recipe is a playground. Here are some of my favorite ways to switch things up:
Citrus Burst
Add a tablespoon of orange zest to the banana mixture for a bright, citrusy note. The zest cuts through the sweetness and gives the dessert a refreshing lift. This variation works especially well when served in the summer.
Nutty Delight
Swap the optional nuts for a mix of toasted almonds and hazelnuts. The toasted nuts add a smoky depth that complements the banana’s natural flavor. Sprinkle the nuts on top of each layer for a crunchy finish.
Coffee Infusion
Stir a tablespoon of instant espresso powder into the whipped cream. The coffee adds a subtle bitterness that balances the sweetness and gives the dessert a mocha twist. This version is perfect for coffee lovers.
Pistachio Cream
Replace half of the heavy cream with pistachio milk for a nutty, green hue. The pistachio milk adds a unique flavor profile and a pop of color that makes the dessert Instagram‑ready.
Tropical Twist
Add a few chopped mango pieces to the banana mixture for a tropical flavor. The mango’s sweetness pairs beautifully with the banana, and the texture adds a pleasant chewiness.
Storing and Bringing It Back to Life
Fridge Storage
Store the dessert in an airtight container in the refrigerator for up to 3 days. Keep it covered to prevent it from absorbing odors from other foods. If you’re planning to serve it the next day, let it sit at room temperature for 10 minutes before slicing to soften slightly.
Freezer Friendly
Wrap the dessert tightly in plastic wrap and place it in a freezer bag. It will keep well for up to 2 weeks. When you’re ready to serve, thaw it overnight in the refrigerator. The texture will remain creamy, though it may be slightly softer.
Best Reheating Method
If the dessert feels too firm after chilling, add a splash of milk or cream to the top before serving. The liquid will steam and bring the dessert back to a silky, melt‑in‑your‑mouth consistency. This trick is especially useful if you’re serving it at a party where the dessert has sat on the counter for a while.