The first time I tried to make Rice Krispie treats, I was so excited that I threw every ingredient I could find into the pot and called it a “cookie.” I stared at the bubbling mess, my kitchen smelling like burnt sugar and regret. I was about to call it a disaster when a friend dared me to finish the batch and taste it. I laughed, shrugged, and said, “Okay, I’ll just keep going.” That moment set the stage for the ultimate version of this childhood classic that I’ve refined into something that feels like a secret family recipe.
Picture the scene: a bright Saturday morning, the sun streaming through the kitchen window, the air thick with the sweet aroma of toasted marshmallows and butter. My whisk clanged against the saucepan, the sound echoing like a drumbeat in a quiet house. The first pop of the marshmallows against the heat sent a small puff of steam, and I could taste the faint hint of vanilla even before the mixture even touched the pan. My fingers tingled with anticipation, and the countertop felt like a stage where a simple treat would become a masterpiece. If you’ve ever tried to make Rice Krispie treats and ended up with a sticky, uneven mess, you’re not alone; I’ve been there, and I’ve learned the tricks that turn chaos into pure, buttery delight.
What makes this version stand out is not just the perfect ratio of cereal to marshmallows, but the subtle balance of flavors and textures that I discovered after countless trials. The secret lies in the timing: letting the marshmallows melt just enough to coat the cereal without turning the mixture into a gooey mess. I’ve found that a touch of salt elevates the sweetness, creating a depth that’s almost reminiscent of a caramelized sugar glaze. The addition of a splash of vanilla extract brings a fragrant warmth that feels like a hug in every bite. And the final touch? A sprinkle of chocolate chips that melts into pockets of molten chocolate, giving each bite a surprise burst of richness.
I dare you to taste this and not go back for seconds. That’s the power of the right technique. The mixture should be thick enough to hold its shape when pressed into a pan, yet soft enough that the edges don’t crack like brittle ice. The result is a cookie that’s crunchy on the outside and chewy on the inside, with a buttery, sweet core that melts in your mouth. By the end of this guide, you’ll wonder how you ever made it any other way. Let me walk you through every single step — by the end, you’ll wonder how you ever made it any other way.
What Makes This Version Stand Out
- Taste: The delicate interplay between sweet marshmallows and salty butter creates a flavor profile that feels both comforting and indulgent.
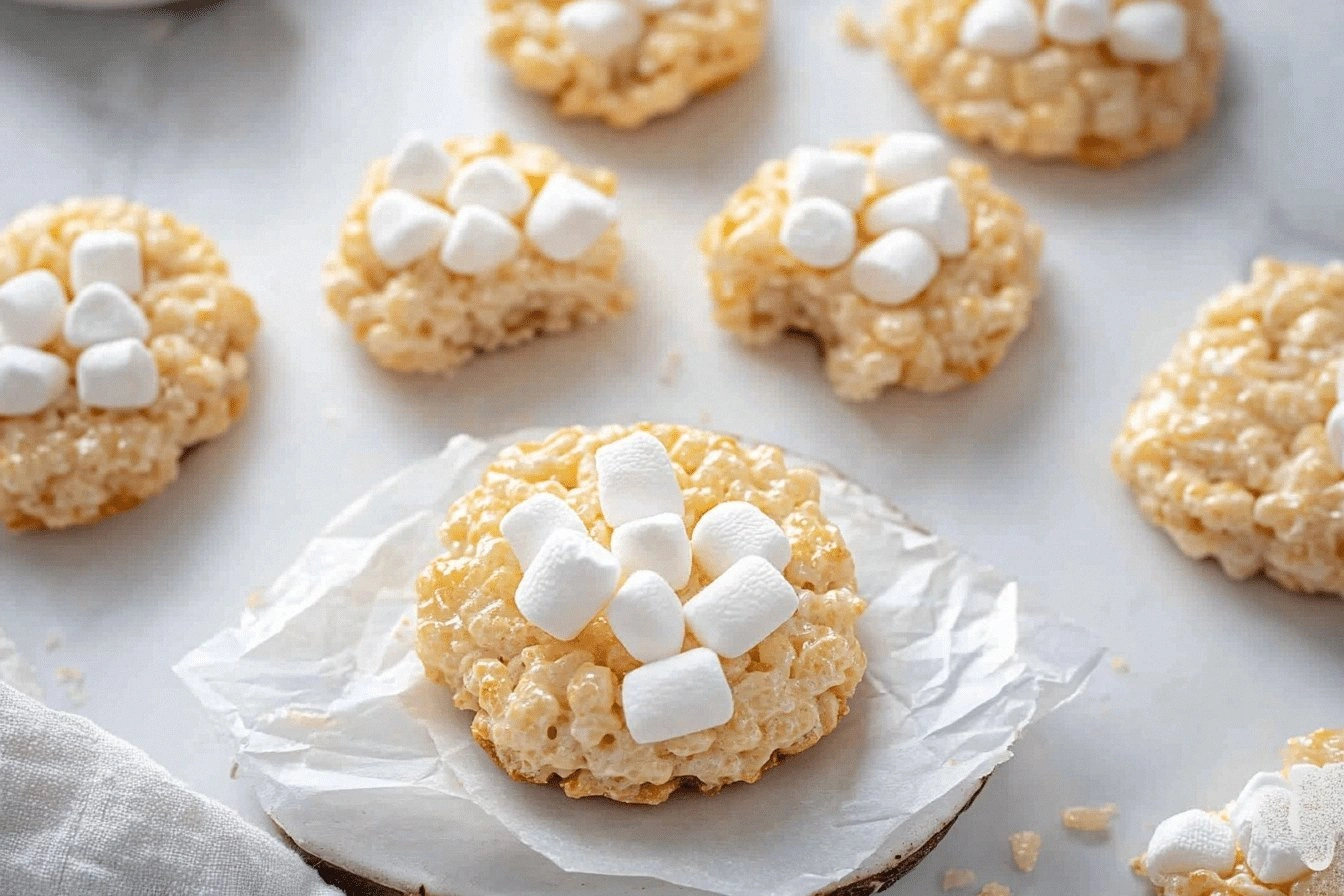
- Texture: A perfect balance of crunchy cereal and chewy marshmallow yields a cookie that crunches on the first bite and melts in the second.
- Simplicity: With only a handful of pantry staples, you can whip up a batch in minutes, making it ideal for spontaneous cravings.
- Uniqueness: The optional chocolate chips and nuts add a gourmet twist that elevates this classic into a showstopper.
- Crowd Reaction: Friends and family swear by the “first bite” moment, and it’s a guaranteed hit at gatherings.
- Ingredient Quality: Using premium butter and real marshmallows makes all the difference, turning a simple snack into a gourmet treat.
- Cooking Method: The precise melt-and-press technique ensures even distribution and the perfect bite each time.
- Make‑Ahead Potential: The cookies can be stored in an airtight container for up to a week, making them perfect for busy days.
Inside the Ingredient List
The Flavor Base
At the heart of every great Rice Krispie cookie lies the combination of butter, vanilla, and a pinch of salt. Butter doesn’t just add richness; it creates a silky mouthfeel that allows the marshmallows to coat the cereal evenly. Vanilla extract, even in small amounts, brings an aromatic depth that transforms the treat from simple to sublime. Salt, surprisingly, cuts through the sweetness and heightens the overall flavor profile, giving the cookies a well-rounded taste that satisfies the palate.
The Texture Crew
Rice Krispies cereal provides the iconic crunch that is a signature of this treat. The cereal’s light, airy structure allows the mixture to set into a firm yet tender cookie. Mini marshmallows are the glue that holds everything together, and their meltable consistency is key to achieving that chewy center. If you skip the marshmallows, the cookies will become dry and crumbly, lacking the signature gooeyness that people love.
The Unexpected Star
Chocolate chips are the secret weapon that turns a simple cookie into a decadent dessert. They melt slightly when baked, creating pockets of molten chocolate that add a luxurious layer of flavor. If you’re a nut lover, chopped nuts add a pleasant crunch and nutty aroma, turning each bite into a multi-sensory experience. Skipping these optional extras will still give you a delicious cookie, but you’ll miss out on that extra dimension of taste.
The Final Flourish
A splash of vanilla extract or a dusting of powdered sugar can elevate the finished product. Vanilla is a classic enhancer, while powdered sugar adds a subtle sweetness that balances the salty butter. If you’re feeling adventurous, a pinch of sea salt on top can create a delightful contrast that’s hard to resist. Remember, the final flourish is your chance to put a personal stamp on this beloved treat.
Everything's prepped? Good. Let's get into the real action.
The Method — Step by Step
- Step 1: Gather Your Ingredients. Before you even turn on the stove, lay out all your ingredients on the counter. This ensures a smooth workflow and prevents the dreaded “where did that butter go?” moments. I always keep my butter at room temperature so it melts quickly and evenly. A well-organized station saves time and reduces kitchen stress.
- Step 2: Melt the Butter. In a large saucepan, melt the butter over medium heat until it starts to bubble. Keep an eye on it; once it’s fully melted, remove it from the heat to avoid scorching. The buttery aroma should fill the room, signaling that the base is ready. This step sets the stage for the marshmallow melt.
- Step 3: Add the Marshmallows. Pour the mini marshmallows into the hot butter. Stir constantly, letting the heat do its work. The marshmallows should begin to melt and coat the butter, forming a smooth, glossy mixture. Watch for the first signs of bubbling – that’s your cue that the mixture is ready for the next step.
- Step 4: Mix in Vanilla and Salt. Add vanilla extract and a pinch of salt to the melted marshmallow mixture. Stir until fully incorporated. The vanilla should give off a warm, fragrant scent, while the salt will subtly enhance the sweetness. This is the moment when the flavor profile starts to come alive.
- Step 5: Combine Rice Krispies. Remove the saucepan from heat. Quickly pour the Rice Krispies into the mixture and stir until every piece is coated. The cereal should glisten with the buttery marshmallow coating. Be careful not to overmix, as this can cause the mixture to become too sticky.
- Step 6: Add Optional Extras. If you’re using chocolate chips or nuts, fold them in now. This ensures that the extras are evenly distributed and don’t clump. The chocolate will start to melt slightly, creating pockets of gooey delight. Nuts add a satisfying crunch that contrasts beautifully with the chewy center.
- Step 7: Press Into the Pan. Grease a baking dish or line it with parchment paper. Transfer the mixture to the pan and press it down firmly with a spatula or your hands. The pressure ensures the cookies hold their shape and set evenly. The surface should look smooth and slightly glossy.
- Step 8: Cool and Cut. Let the mixture cool in the pan for at least 30 minutes or until firm. Once set, cut into squares or bars. The cookies will be slightly soft when you first cut them, but they’ll firm up as they cool further. This step is crucial for achieving the ideal chewy texture.
- Step 9: Serve or Store. Serve the cookies immediately for the freshest experience. If you’re planning ahead, store them in an airtight container at room temperature for up to a week. For longer storage, freeze the cookies and thaw them at room temperature before serving.
- Step 10: Enjoy! Grab a glass of milk or a cup of coffee and savor the perfect blend of crunchy, chewy, and buttery flavors. The moment your first bite melts in your mouth, you’ll know you’ve mastered this timeless treat.
That's it — you did it. But hold on, I've got a few more tricks that'll take this to another level.
Insider Tricks for Flawless Results
The Temperature Rule Nobody Follows
The key to a perfect cookie is controlling the temperature of the butter and marshmallows. If the mixture is too hot, the marshmallows will evaporate and leave the cookies dry. If it’s too cool, the mixture will be too sticky to press. Aim for a gentle simmer, just enough to create a glossy sheen. This subtle temperature control ensures the cookies set with a satisfying chew.
Why Your Nose Knows Best
Your nose is a powerful indicator of when the marshmallows are at the right consistency. The moment you smell that sweet, buttery aroma mingling with a hint of vanilla, the mixture is ready. Trust that scent; it’s a reliable cue that the cookies will come out perfectly. If you’re unsure, a quick sniff can save you from overcooking.
The 5‑Minute Rest That Changes Everything
After pressing the mixture into the pan, let it rest for five minutes before cutting. This brief pause allows the mixture to firm up, preventing the cookies from crumbling when you cut them. It also lets the flavors meld, creating a richer taste profile. Skipping this step can result in uneven textures and a less satisfying bite.
The “One‑Touch” Press
Press the mixture into the pan with a single, steady motion. Avoid pressing too hard or too frequently, as this can cause the mixture to become overly dense. A gentle, even pressure ensures that the cookies retain their airy structure. Think of it as laying a smooth blanket over a bed; too much pressure and you’ll crush the fluff.
The Secret of Even Distribution
When folding in the Rice Krispies, stir in a clockwise motion to prevent clumping. This technique ensures each cereal piece is coated evenly, giving every bite the same delightful crunch. A simple, circular motion keeps the mixture from becoming lumpy and guarantees consistent texture across the batch.
Creative Twists and Variations
This recipe is a playground. Here are some of my favorite ways to switch things up:
Nutty Bliss
Swap the optional nuts for chopped pecans or walnuts. The earthy tones pair beautifully with the buttery base, and the crunch adds a satisfying contrast. This version is perfect for those who love a nutty undertone in their sweet treats.
Cocoa‑Infused Delight
Add a tablespoon of cocoa powder to the melted mixture for a chocolatey twist. The cocoa will deepen the flavor without overpowering the marshmallow sweetness. This variant is great for chocolate lovers looking for a richer cookie.
Spiced Surprise
Stir in a pinch of cinnamon or nutmeg for a warm, aromatic flavor. The spices complement the vanilla and add a subtle complexity that elevates the cookie to a new level of indulgence.
Miniature Morsels
Reduce the size of the cookies to bite‑sized pieces, ideal for parties or as a dessert topping. The smaller size allows for more flavor per bite and makes them easy to share.
Gluten‑Free Edition
Replace the Rice Krispies with a gluten‑free cereal such as Rice Krispies Gluten‑Free or a blend of puffed quinoa. The texture remains crisp, and the flavor stays true to the original. This version is perfect for those with dietary restrictions.
Lemon‑Laced Treats
Add a tablespoon of lemon zest to the mixture for a bright, citrusy note. The lemon zest cuts through the sweetness, creating a refreshing contrast that’s especially delightful on hot days.
Storing and Bringing It Back to Life
Fridge Storage
Store the cookies in an airtight container at room temperature for up to one week. The airtight seal prevents the cookies from drying out, keeping them chewy and fresh. If you’re in a humid climate, keep the container in a cool, dry place to avoid condensation.
Freezer Friendly
For longer storage, wrap individual cookies in parchment paper and place them in a freezer bag. Freeze for up to three months. When ready to enjoy, let the cookies thaw at room temperature for 20 minutes. The texture remains intact, and the flavor is as delightful as fresh.
Best Reheating Method
To revive a frozen or stale cookie, warm it in a preheated oven at 300°F (150°C) for 3-4 minutes. Alternatively, microwave on low power for 10-15 seconds. Adding a tiny splash of water before reheating creates steam that restores the cookie’s softness and makes it feel brand‑new.