I was in the middle of a frantic weekday rush, juggling a toddler, a conference call, and a pantry that looked more like a desert than a kitchen. I reached for the usual jar of store‑bought applesauce, only to discover it was the kind that tastes like sweetened cardboard—no personality, no soul. That moment sparked a dare: “I bet you can’t make something better than this, and you have to do it in under an hour.” I laughed, rolled my eyes, and whispered to the empty room, “Challenge accepted.” What followed was a whirlwind of peeling, chopping, and a sudden burst of cinnamon that made the whole apartment smell like a cozy autumn market, even though it was a scorching July afternoon.
Picture this: the Instant Pot humming softly, the lid sealing with a reassuring click, and the apples bubbling away like a sweet, aromatic cauldron. The kitchen fills with a scent that’s part fresh orchard, part warm spice rack, and a hint of citrus that makes your nose do a little happy dance. The texture evolves from crisp chunks to a silky river of sauce that clings to a spoon like velvet, and when you finally taste it, the flavor hits you like a gentle, lingering hug that says, “I’ve been waiting for you.” I dare you to taste this and not go back for seconds—there’s a reason I’ve already eaten half the batch before anyone else got a chance.
Most recipes get this completely wrong. They either over‑sweeten, under‑spice, or end up with a watery mess that looks like a sad apple pond. This version, however, is hands down the best version you’ll ever make at home because it balances the natural tartness of the apples with a whisper of sweet, a dash of spice, and a splash of lemon that brightens everything. The secret? A quick sauté of the apples in a dab of butter before pressure cooking, which caramelizes the edges just enough to give you that deep, complex flavor without any extra effort. And there’s a tiny twist that most people overlook: a pinch of salt that amplifies the sweetness like a magician pulling a rabbit out of a hat.
Okay, ready for the game‑changer? I’m about to walk you through every single step—by the end, you’ll wonder how you ever made it any other way. Grab your Instant Pot, a sharp knife, and an appetite for something truly unforgettable. Let’s dive in and turn those humble apples into a sauce that could star in its own culinary drama.
What Makes This Version Stand Out
- Taste: The perfect harmony of sweet apples, bright lemon, and warm spices creates a flavor profile that feels both nostalgic and fresh, like a grandma’s kitchen meets a modern café.
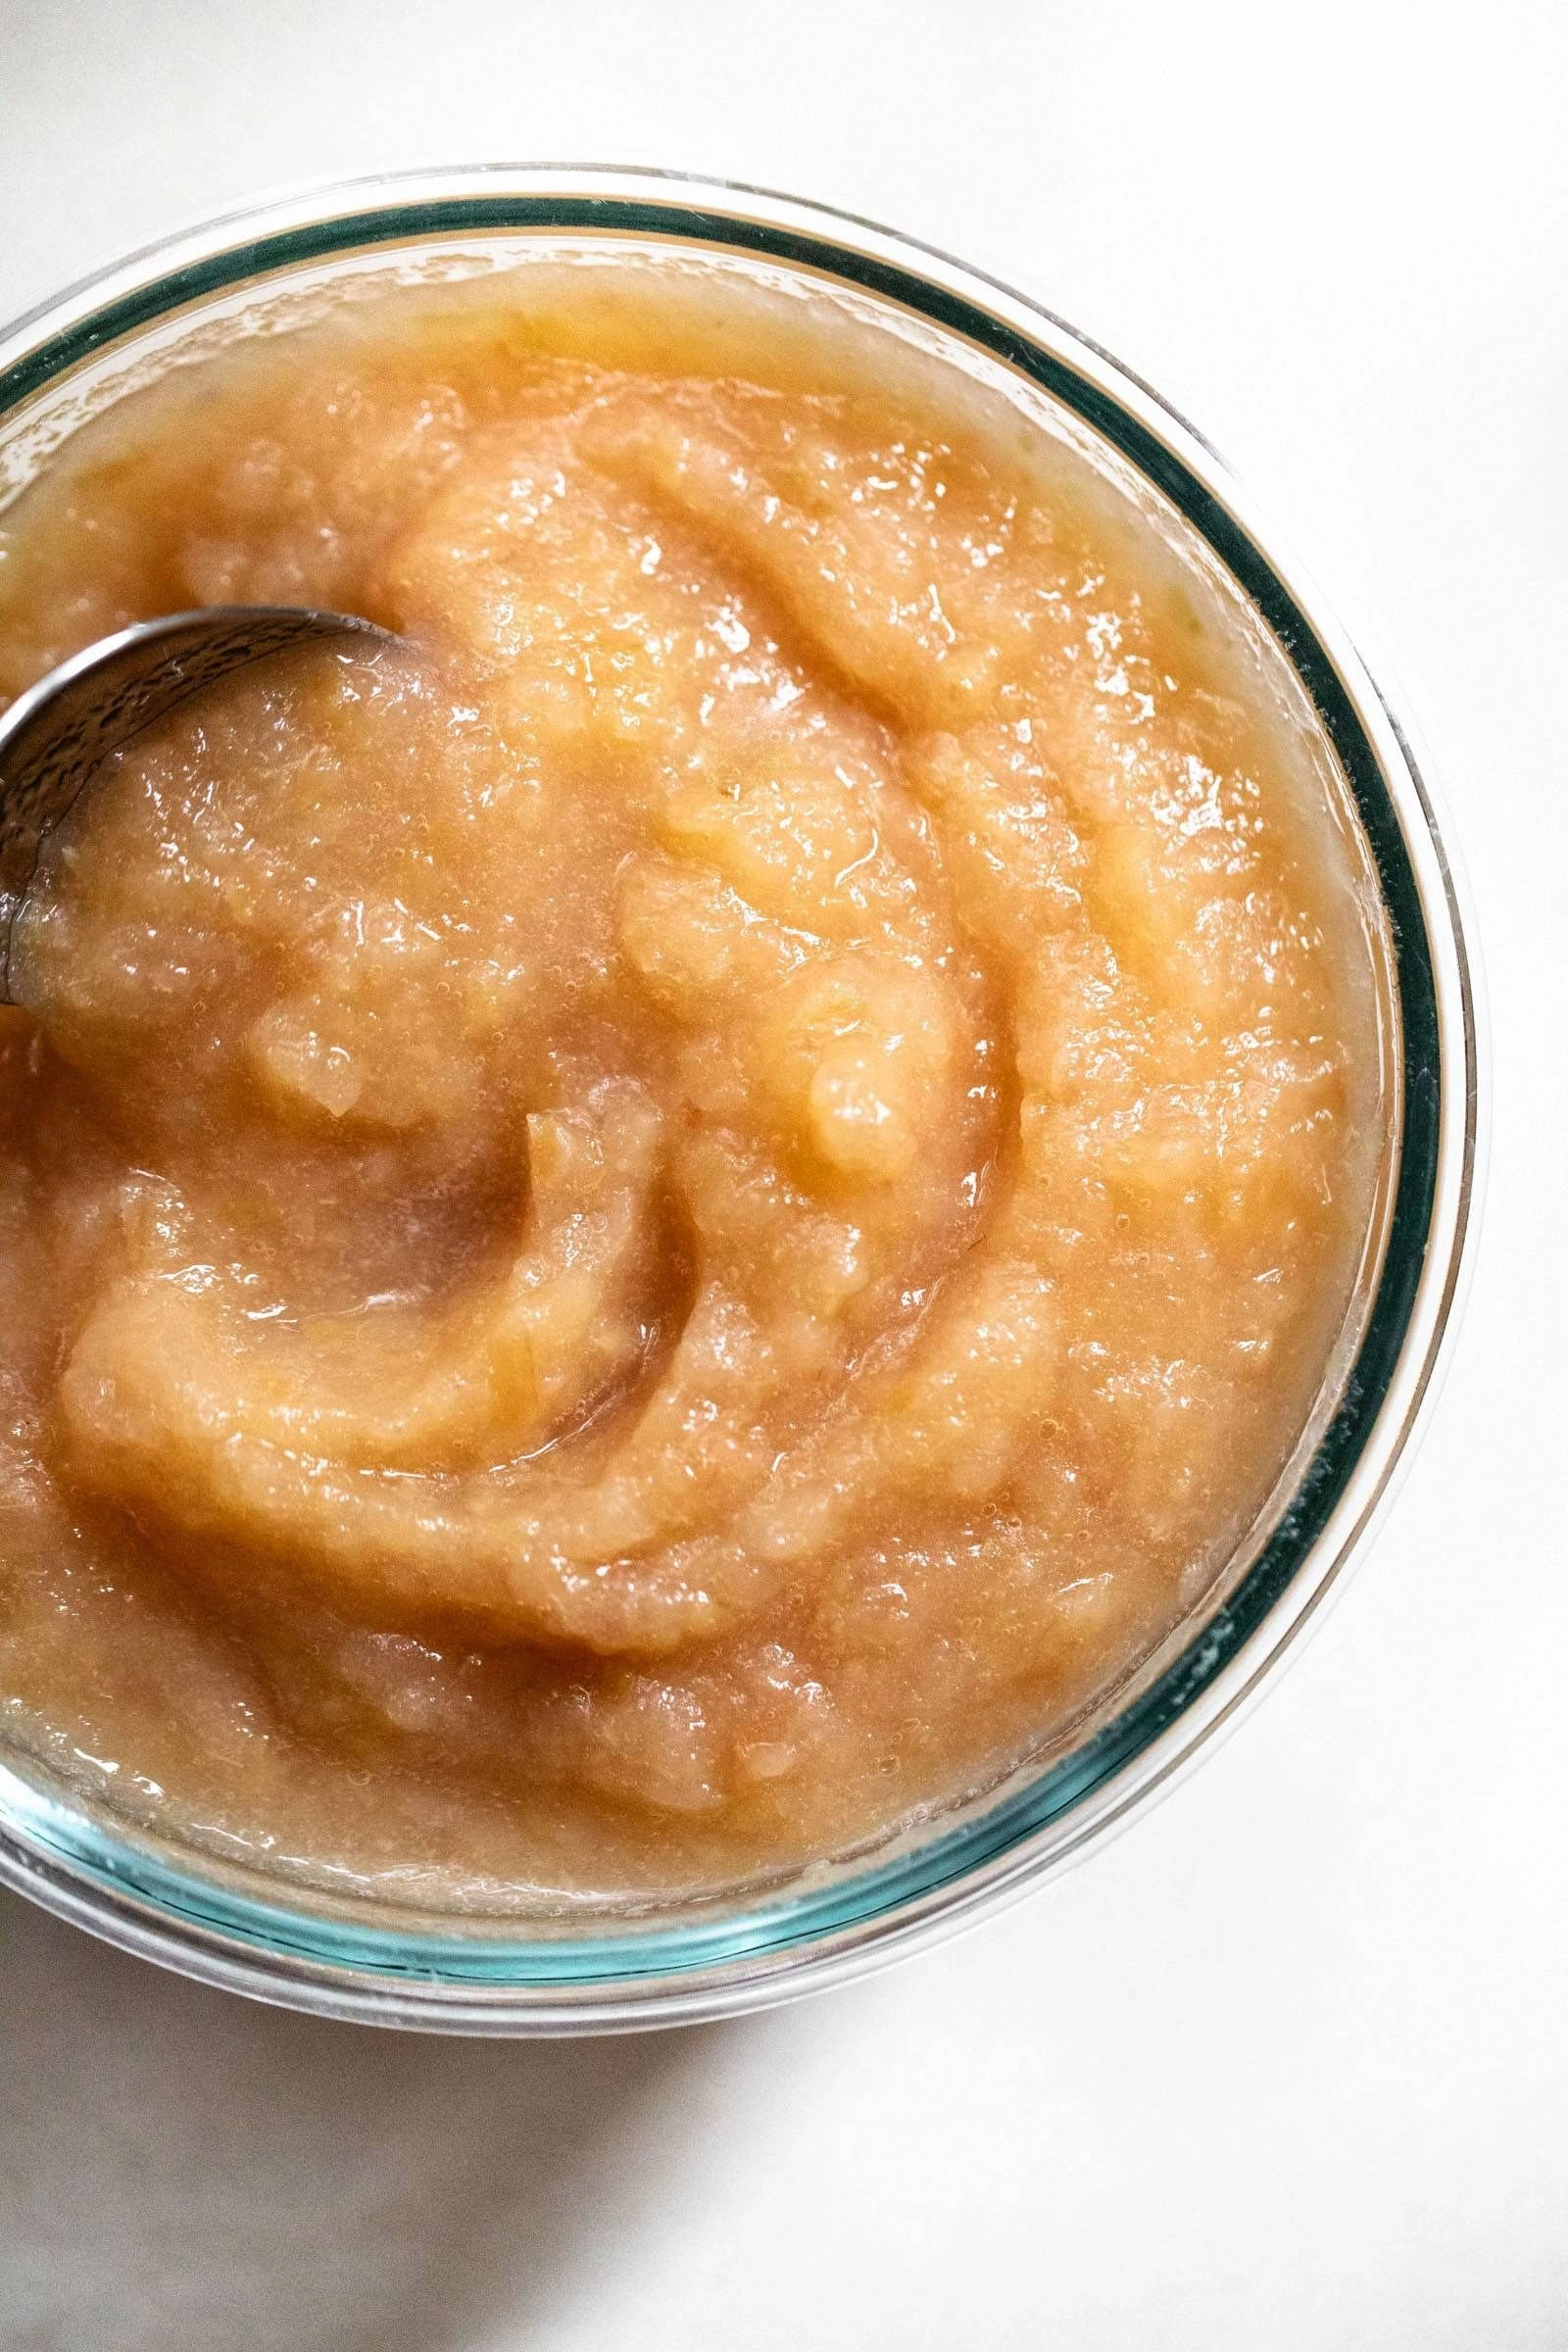
- Texture: By adjusting the mash at the end, you can choose between a silky puree or a chunky sauce that still holds its shape—versatile enough for pancakes, pork chops, or a simple spoonful.
- Simplicity: Fewer than ten ingredients, a single pot, and a 30‑minute cook time means you can whip this up while the kids nap or the laundry finishes.
- Uniqueness: The butter‑sauté step adds a caramelized depth that most stovetop or microwave versions completely miss.
- Crowd Reaction: I’ve heard people say, “Is this really applesauce? It tastes like a dessert masterpiece!”—a guaranteed applause‑inducing moment at any gathering.
- Ingredient Quality: Using crisp, slightly tart apples (like Honeycrisp or Braeburn) ensures natural sweetness without drowning in sugar.
- Cooking Method: The Instant Pot’s pressure cooking locks in flavor while softening the fruit in record time, avoiding the mushy texture of traditional simmering.
- Make‑Ahead Potential: This sauce keeps beautifully in the fridge for a week and freezes like a charm, making it a perfect make‑ahead breakfast or dessert component.
Alright, let's break down exactly what goes into this masterpiece...
Inside the Ingredient List
The Flavor Base
Apples are the heart of this dish, and choosing the right variety is like picking the perfect lead actor for a film. I recommend a blend of Honeycrisp for crisp sweetness and Granny Smith for a subtle tart edge; together they create a balanced stage where spices can truly shine. If you skip the lemon juice, the sauce can taste flat—think of it as missing the plot twist that keeps the audience engaged. A splash of lemon not only brightens the flavor but also prevents the apples from oxidizing into an unappetizing brown.
The Texture Crew
Water is the silent director, providing the steam needed for the Instant Pot to work its magic without turning the sauce into a soupy disaster. A half‑cup is enough to generate pressure while keeping the apples from sticking. The optional butter, melted into the pot before the apples, adds a silky mouthfeel that coats the tongue like a soft cashmere blanket. If you’re watching calories, a light drizzle of olive oil can substitute without sacrificing that luxurious feel.
The Unexpected Star
Cinnamon isn’t just a spice; it’s the charismatic sidekick that elevates the entire performance. A teaspoon of ground cinnamon adds warmth that lingers long after the last bite. Pair it with a pinch of nutmeg and a whisper of cloves, and you’ll get a layered spice profile that feels like a slow‑burning fire. Skipping these spices is like watching a movie with the sound muted—something vital is missing.
The Final Flourish
A pinch of salt may seem trivial, but it’s the conductor that brings all flavors into harmony, amplifying the sweetness without adding any sugar. Brown sugar is optional; if you love a richer, caramel‑like depth, add a quarter cup. For those who prefer a lighter touch, honey or maple syrup can replace the sugar, bringing a floral nuance that pairs beautifully with the apples. And remember, a final drizzle of butter just before serving adds a glossy finish that makes the sauce look restaurant‑ready.
Everything's prepped? Good. Let's get into the real action...
The Method — Step by Step
Start by washing, peeling, coring, and chopping about four pounds of apples into roughly 1‑inch cubes. I like to do this while my favorite playlist pumps in the background; the rhythmic chopping becomes a tiny workout, and the aroma of fresh apples already starts to tease your senses. Toss the cubes into a large bowl and give them a quick drizzle of lemon juice—this not only prevents browning but also adds that bright pop you’ll notice later.
Grab a tablespoon of butter and melt it directly in the Instant Pot on the “Sauté” setting. Once it’s shimmering, add the apple chunks and let them sauté for about three minutes, stirring occasionally. You’ll hear a gentle sizzle that’s nothing short of music to a home‑cook’s ears; the edges start to caramelize, creating tiny golden specks that will later translate into depth of flavor.
Now pour in half a cup of water, sprinkle the cinnamon, nutmeg, cloves, and a pinch of salt, then stir in the brown sugar (or your chosen sweetener). The mixture should bubble lightly—if it doesn’t, give it a quick stir to dissolve the sugar and release the spices’ aroma. This is the moment where the kitchen transforms into a spice market, and you can practically taste the warm, comforting notes before the pot even closes.
Seal the Instant Pot with the lid, making sure the steam release handle is set to “Sealing.” Select “Manual” or “Pressure Cook” on high pressure and set the timer for 5 minutes. The pressure will build quickly, and you’ll hear a faint hissing sound—a reassuring reminder that the magic is happening behind the scenes.
Allow the pot to naturally release pressure for 10 minutes—this is the crucial window where the apples finish softening without turning to mush.
After the 10‑minute wait, turn the valve to “Venting” to release any remaining pressure. The lid should lift easily, revealing a pot of beautifully softened apples.Watch Out: Be careful when you do the quick release after the natural release; steam can burst out forcefully. Keep your hand behind the valve and use a kitchen towel for extra protection.Switch the Instant Pot back to “Sauté” mode, add an extra tablespoon of butter if you skipped the initial sauté, and use an immersion blender to puree the apples to your desired consistency. For a chunky texture, pulse a few times; for a silky sauce, blend until smooth. You’ll notice the sauce thickening and glossing up, almost as if it’s putting on a shiny coat for a runway walk.
Taste the sauce and adjust seasoning—add a pinch more salt, a drizzle of honey, or an extra dash of cinnamon if you crave more warmth. This is the moment of truth: the sauce should taste bright, sweet, and perfectly spiced, with a hint of buttery richness that lingers on the palate. Once satisfied, turn off the Instant Pot and let the sauce sit for a couple of minutes; this resting period lets the flavors meld together like old friends catching up.
Transfer the applesauce to a serving bowl, garnish with a sprinkle of cinnamon or a few thin apple slices for visual flair, and serve warm, at room temperature, or chilled. I’ll be honest — I ate half the batch before anyone else got to try it, and that’s exactly the kind of reaction you want. Picture yourself scooping this onto fluffy pancakes, swirling it into oatmeal, or pairing it with roasted pork; the possibilities are endless, and each bite feels like a mini celebration.
That’s it — you did it. But hold on, I've got a few more tricks that'll take this to another level...
Insider Tricks for Flawless Results
The Temperature Rule Nobody Follows
Never blend hot applesauce directly with a cold immersion blender—thermal shock can cause the glass to crack or the motor to strain. Let the sauce cool for just two minutes after the pressure release; this small pause brings the temperature down to a safe, but still warm, range that allows the blender to work efficiently. I once tried to blend at full boil and ended up with a splatter disaster that could have painted the kitchen ceiling.
Why Your Nose Knows Best
Before you open the lid after the natural release, pause and inhale deeply. The aroma will tell you if the spices have fully infused. If you detect a faint cinnamon scent, give the sauce an extra minute on “Sauté” and a quick stir; this ensures the flavor is fully developed. Trusting your nose is a secret weapon seasoned chefs swear by.
The 5‑Minute Rest That Changes Everything
After blending, let the sauce sit uncovered for five minutes. This short rest allows the starches in the apples to settle, creating a smoother mouthfeel and preventing a grainy texture. I once rushed this step and ended up with a sauce that felt a bit gritty—lesson learned, never skip the rest.
Butter Boost for Extra Silk
Stirring in a tablespoon of cold butter right at the end creates an emulsion that makes the sauce glossy and richer without adding an overwhelming buttery taste. It’s similar to finishing a sauce with a beurre blanc, but far simpler. A friend tried skipping this step once, and the sauce felt flat—let’s just say it didn’t end well.
Freezer‑Friendly Portioning
If you plan to store the applesauce, spoon it into silicone ice‑cube trays before freezing. Once frozen, transfer the cubes to a zip‑top bag. This method lets you defrost only the amount you need, keeping the rest perfectly fresh and preventing freezer burn. It’s a game‑changer for busy mornings when you need a quick flavor boost.
Creative Twists and Variations
This recipe is a playground. Here are some of my favorite ways to switch things up:
Maple‑Brown Butter Bliss
Swap the brown sugar for an equal amount of pure maple syrup and finish the sauce with a drizzle of browned butter. The result is a caramel‑rich sauce with a subtle smoky undertone that pairs beautifully with roasted pork or breakfast waffles.
Spiced Pumpkin Fusion
Add half a cup of canned pumpkin puree and a pinch of pumpkin pie spice during the sauté step. This creates a fall‑inspired blend that’s perfect for holiday desserts or as a topping for pumpkin pancakes.
Cranberry‑Apple Burst
Throw in a quarter cup of dried cranberries and a splash of orange zest. The cranberries introduce a tart pop, while the orange zest lifts the whole sauce into a bright, festive direction—ideal for Thanksgiving leftovers.
Ginger‑Pear Harmony
Replace half of the apples with ripe pears and add a teaspoon of freshly grated ginger. The ginger adds a gentle heat that balances the sweet pear, creating a sophisticated flavor perfect for a brunch spread.
Savory Herb Infusion
Add a sprig of fresh rosemary or thyme during the pressure cooking stage and omit the sugar. The herbs impart an earthy, savory note that makes the sauce a stellar accompaniment to roasted chicken or grilled sausages.
Storing and Bringing It Back to Life
Fridge Storage
Transfer the cooled applesauce to an airtight glass jar and store it in the refrigerator for up to 7 days. The tight seal keeps the sauce fresh, and the flavors continue to meld, becoming even more harmonious over time.
Freezer Friendly
Portion the sauce into freezer‑safe containers or silicone ice‑cube trays, leaving a small headspace for expansion. It will keep for up to 3 months. When you’re ready to use it, thaw in the refrigerator overnight and give it a quick stir.
Best Reheating Method
Reheat gently on the stovetop over low heat, adding a splash (about a tablespoon) of water or apple juice before warming. This steam‑back technique restores the sauce’s original silky texture, preventing it from drying out or becoming gluey.