I was halfway through a midnight snack run when the kitchen turned into a chocolate catastrophe. I had just opened a bag of white chocolate chips, hoping for a quick drizzle over my toast, and the whole block slipped out of the bag, splattering across the counter like a white snowstorm. The smell of melted chocolate mingled with the faint scent of my coffee machine, and I knew I had to salvage the mess. I grabbed a saucepan, poured the chips into it, and watched them melt into a glossy, silky pool. That moment was a revelation: this wasn’t just a snack, it was the birth of a dessert that would become my go-to for every occasion.
Fast forward to the next morning, I was still humming the rhythm of that sizzle, and I decided to turn that accidental melt into a full-fledged dish. I thought, why not combine the lusciousness of white chocolate with the subtle warmth of spices and the bright pop of berries? I mixed in heavy cream and a dash of cayenne, and the aroma filled my kitchen, turning it into a sweet, spicy sanctuary. The visual was already a work of art: a glossy, ivory pool that beckoned. The sound of the simmering mixture was like a lullaby, and the texture was a promise of silky smoothness.
I dared you to taste this and not go back for seconds, but I didn’t want to be the only one who’d discovered the secret. I wanted to share every single step, every tiny tweak that made the difference. I wanted you to feel the heat of the oven, the crackle of the crust, and the burst of berries in every bite. I wanted you to understand why this version stands out from every other recipe out there. And I wanted you to know that, by the end, you’ll wonder how you ever made it any other way.
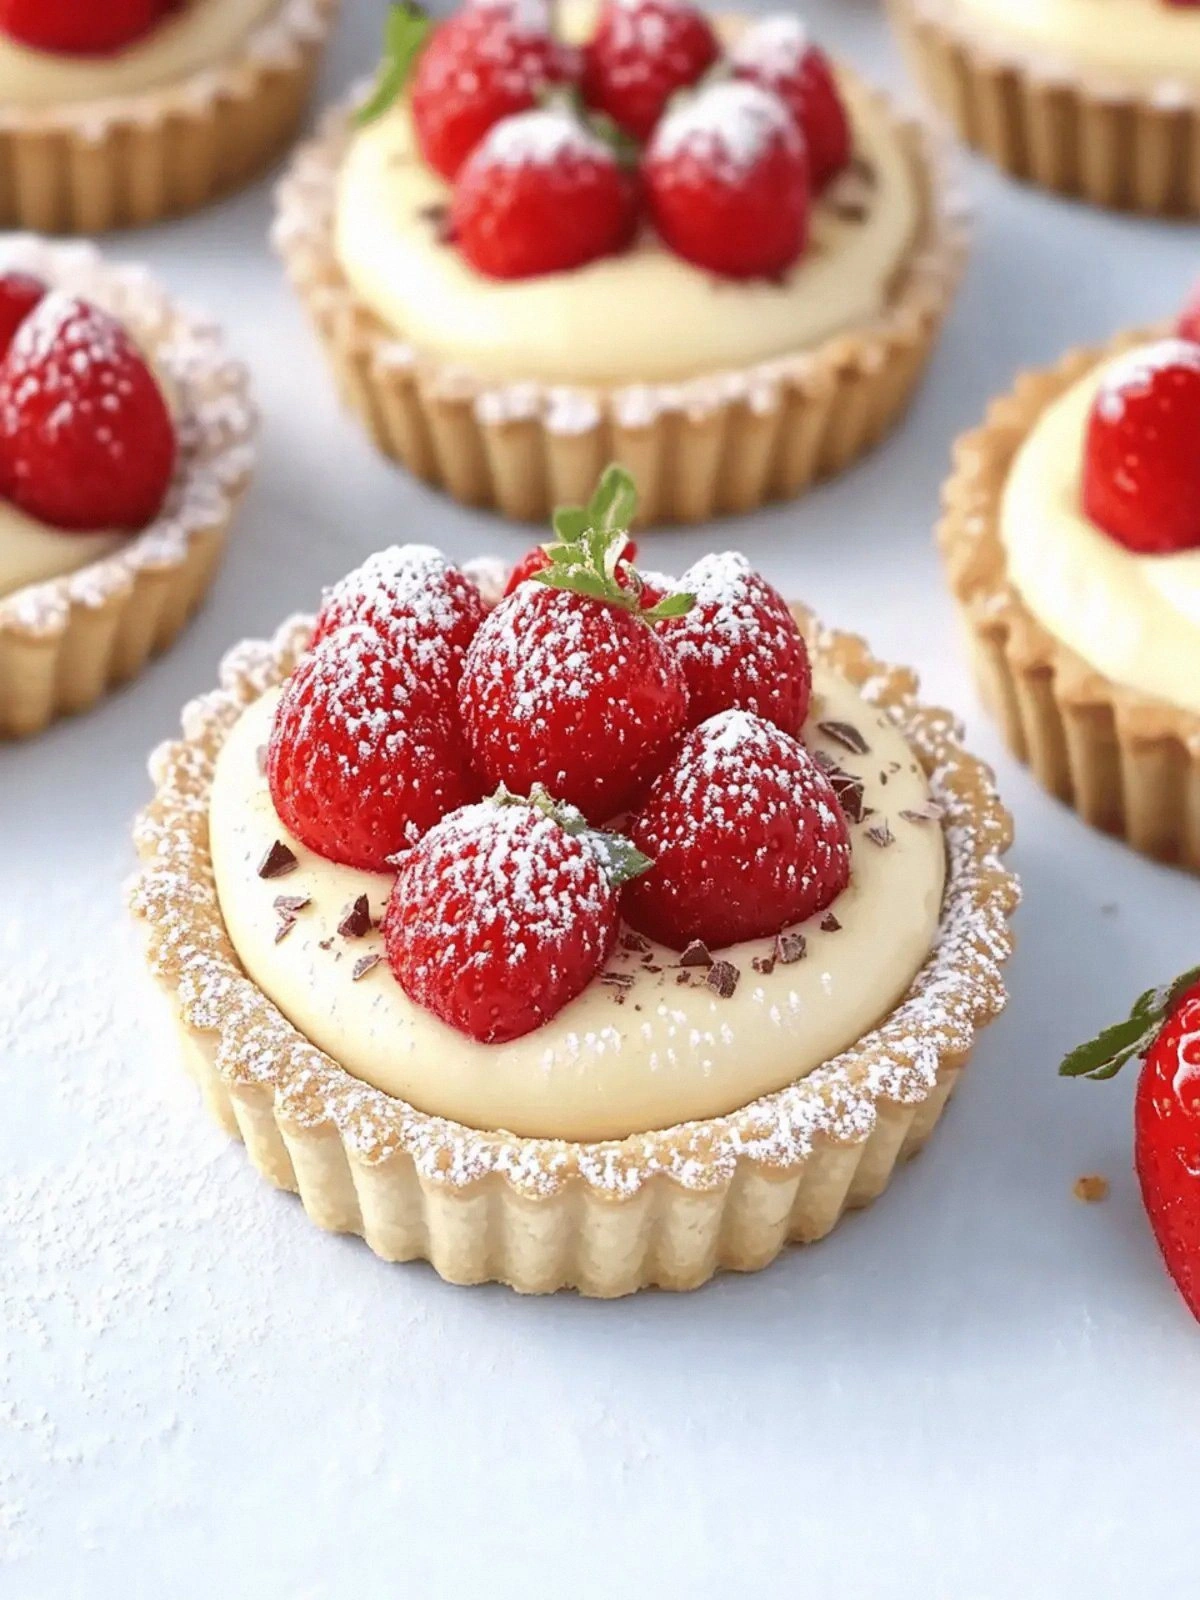
Picture yourself pulling this out of the oven, the whole kitchen smelling incredible, the tart crust golden and crisp, and the mousse inside so airy it almost floats. Imagine the first bite: the sweet, buttery bite of the crust, the velvety melt of the mousse, and the bright, tart splash of berries that cut through the richness. The sauce drips down the sides like velvet, and the aroma lingers long after you’ve taken the last bite. This isn’t just a dessert; it’s an experience, a moment of pure indulgence that you’ll want to repeat over and over. And that’s why I’m here, ready to walk you through every single step.
What Makes This Version Stand Out
- Flavor Depth: The combination of white chocolate, cayenne, and cinnamon creates a layered flavor profile that feels both sweet and adventurous. The spices add a subtle heat that balances the creamy richness, giving each bite a surprising twist. This isn’t the typical vanilla or plain chocolate mousse you’ve had before.
- Texture Play: The crust is crisp on the outside yet tender on the inside, providing a delightful contrast to the airy mousse. The mousse itself is light enough to melt on the tongue but dense enough to hold the berries without sinking. The result is a mouthfeel that feels like a cloud wrapped in a caramelized shell.
- Visual Appeal: The ivory hue of the mousse against the dark chocolate sauce or raspberry coulis creates a striking color contrast. The berries add pops of color that look almost too pretty to eat. When plated, it looks like a piece of art you can’t resist.
- Simple Yet Elegant: The recipe uses only a handful of ingredients, but the technique elevates each one. No complicated steps or obscure tools are required; just a saucepan, a mixer, and a baking tin. The simplicity makes it accessible for beginners yet still impressive for seasoned bakers.
- Make‑Ahead Friendly: The mousse can be prepared up to 24 hours ahead and chilled, allowing you to focus on the crust on the day you’ll serve it. The flavors actually deepen when the mousse sits, making it even more delicious when you finally bite into it.
- Crowd‑Pleaser: Whether you’re hosting a brunch, a dinner party, or a quiet evening, this dessert wins hearts instantly. Guests will rave about the subtle heat and the bright berry finish. It’s a conversation starter that keeps the party alive.
- Ingredient Quality: Using real white chocolate with a high cocoa butter content ensures a silky, glossy finish. Heavy cream adds richness without being too heavy, and fresh berries provide natural sweetness and acidity.
- Versatility: The recipe can be adapted for dietary restrictions—use dairy-free cream, vegan butter, or a sugar substitute. The spices can be tweaked for a milder or more intense flavor profile. It’s a blank canvas waiting for your personal touch.
Alright, let's break down exactly what goes into this masterpiece. The next section will walk you through each ingredient and why it matters.
Inside the Ingredient List
The Flavor Base
8 oz Real White Chocolate is the soul of this dessert. It provides a buttery sweetness that is richer than cocoa but still delicate. If you use a lower quality chocolate, the mousse will taste chalky and lack depth. The best white chocolate has at least 30% cocoa butter, which ensures a glossy, smooth melt.
1 cup Heavy Cream adds body and a velvety texture. Heavy cream’s high fat content coats the mouth and gives the mousse a luxurious mouthfeel. If you prefer a lighter version, substitute with half-and-half, but the mousse will be slightly less dense. The cream also helps stabilize the egg yolks during cooking.
The Texture Crew
4 large Egg Yolks are the binding agent that gives the mousse its structure. Egg yolks add richness, color, and a silky finish. They also help emulsify the mixture, ensuring that the white chocolate doesn’t separate. If you’re vegan, you can replace the yolks with 2 tablespoons of silken tofu blended until smooth.
1/4 cup Sugar sweetens the mousse and balances the bitterness of the chocolate. It also aids in the setting process by providing a slight syrup that holds the mixture together. For a sugar-free version, replace with a natural sweetener like stevia or monk fruit, adjusting the quantity to taste.
1/2 cup Butter adds depth and a buttery finish. Butter also helps create a tender crust when baked. If you’re avoiding dairy, use a plant-based butter substitute; just keep in mind the flavor will shift slightly.
The Unexpected Star
1/4 tsp Salt is crucial for enhancing the sweetness of the chocolate and balancing the spices. A pinch of salt can transform a dish from good to great by brightening each flavor. Don’t skip this step; it’s the secret to a well-rounded taste.
1/4 tsp Cayenne Pepper adds a subtle heat that surprises the palate. The cayenne’s heat is muted by the sweetness, creating a complex profile that feels adventurous yet comforting. If you’re sensitive to spice, reduce to 1/8 tsp or omit entirely.
1/2 tsp Cinnamon offers a warm, aromatic note that pairs beautifully with white chocolate. Cinnamon’s natural sweetness complements the berries, creating a harmonious balance. If you love nutmeg, a pinch can add an extra layer of warmth.
The Final Flourish
1 1/4 cups Flour is the foundation for the crust. It creates a tender base that holds the mousse and berries. Using a blend of all-purpose and whole wheat flour can give the crust a nuttier flavor. The flour also absorbs excess moisture, ensuring the crust stays crisp.
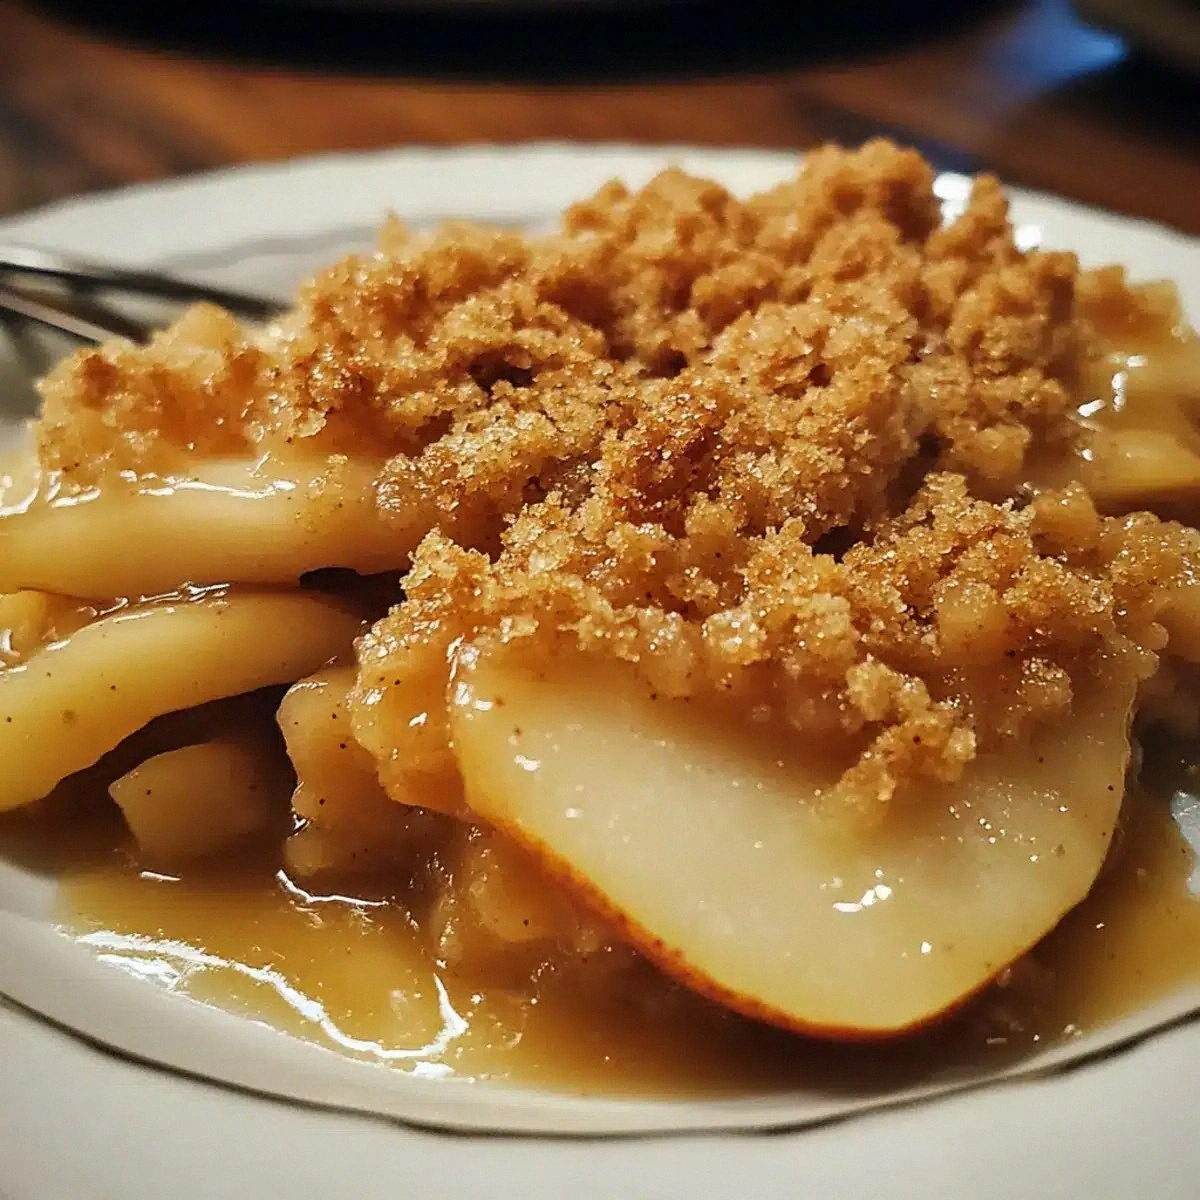
1 cup Berries add a burst of freshness and natural acidity that cuts through the richness. Blueberries, strawberries, or raspberries work best, depending on season. Wash and dry them thoroughly to prevent excess liquid from affecting the mousse’s texture.
Dark Chocolate Sauce/Raspberry Coulis is optional but elevates the dessert’s visual appeal and adds a contrasting flavor. The sauce coats the mousse like velvet, while the coulis offers a tart counterpoint. If you prefer a single sauce, choose one that complements the berries you’ve used.
Everything's prepped? Good. Let's get into the real action.
The Method — Step by Step
- Preheat your oven to 350°F (175°C). Line a 9‑inch tart pan with parchment paper for easy removal. Place a baking sheet on the middle rack to catch any drips. This step ensures even heat distribution and prevents the crust from burning.
- In a medium bowl, whisk together the flour, salt, cayenne, and cinnamon. This dry mix ensures even distribution of spices throughout the crust. The flour should be sifted to avoid clumps, especially if you’ve stored it for a while. Add the butter, cutting it into small cubes, and blend until the mixture resembles coarse crumbs.
- Press the dough into the prepared tart pan, making sure it’s evenly distributed to the edges. Use a spoon or the back of a flat utensil to press it down firmly. Tap the pan on the counter to remove any air pockets. Chill the crust in the fridge for 10 minutes while you prepare the mousse.
- In a saucepan, combine the white chocolate and heavy cream over low heat. Stir constantly until the chocolate is fully melted and the mixture is silky smooth. Watch for the temperature; it should not exceed 180°F (82°C) to avoid scorching. The chocolate should look glossy, not oily.
- In a separate bowl, whisk the egg yolks and sugar until pale and slightly thickened. This step is crucial for a smooth mousse; whisking too vigorously can cause the yolks to curdle. Once the mixture is light, pour it into the chocolate cream, stirring constantly to prevent any lumps.
- Pour the chocolate‑egg mixture into the chilled crust. Gently swirl the pan to distribute the mousse evenly. The mixture should be smooth and glossy, with no visible lumps. Let the tart rest for 10 minutes before baking; this helps the flavors meld.
- Bake the tart for 25 minutes, or until the edges are set and the center has a slight wobble. Avoid overbaking, as this will dry out the mousse. When the tart is done, remove it from the oven and let it cool completely on a wire rack.
- Once cooled, top the mousse with fresh berries and drizzle with dark chocolate sauce or raspberry coulis. The contrast of colors will make the dessert pop visually. Chill the tart for at least 2 hours before serving to set the mousse fully.
That's it — you did it. But hold on, I've got a few more tricks that'll take this to another level. These insider tips will help you avoid common pitfalls and elevate your dessert to a showstopper.
Insider Tricks for Flawless Results
The Temperature Rule Nobody Follows
Keep the chocolate mixture below 180°F (82°C). If you’re using a thermometer, aim for 160°F (71°C) to be safe. This ensures the eggs don’t scramble and the mousse stays silky. A quick test: dip your finger into the mixture; it should feel warm but not hot to the touch.
Why Your Nose Knows Best
Before you start, smell the white chocolate. A fresh, slightly nutty aroma signals high quality. If it smells off or like old cardboard, it’s time to buy a new batch. Your nose is the best judge of flavor integrity.
The 5‑Minute Rest That Changes Everything
After you press the crust into the pan, let it rest in the fridge for 5 minutes. This step helps the butter firm up, making the crust easier to lift after baking. It also reduces the risk of the crust cracking when you remove it.
The Secret to a Crispy Edge
Brush the crust with a little beaten egg white before baking. The egg white adds shine and helps the edges brown evenly. It also creates a subtle barrier that keeps the moisture from seeping into the crust.
The Berry‑First Approach
If you’re using berries that release a lot of juice, toss them in a light dusting of sugar before adding to the mousse. This helps draw out excess moisture and keeps the mousse from becoming watery. It also caramelizes the berries slightly when baked.
Creative Twists and Variations
This recipe is a playground. Here are some of my favorite ways to switch things up:
The Citrus Burst
Add a teaspoon of lemon zest to the mousse for a bright, zesty kick. The citrus cuts through the sweetness and adds a refreshing note. Serve with a splash of lemon curd for an extra zing.
The Nutty Surprise
Stir in a handful of chopped toasted almonds or hazelnuts into the crust. The nuts add crunch and a subtle buttery flavor that complements the white chocolate. Sprinkle extra nuts on top for a decorative touch.
The Tropical Escape
Swap the berries for diced mango or pineapple chunks. The tropical fruits bring a sweet, juicy contrast to the creamy mousse. A drizzle of coconut cream adds an extra layer of indulgence.
The Vegan Edition
Use dairy‑free heavy cream and plant‑based butter. Replace egg yolks with a tablespoon of aquafaba or silken tofu. The texture will be slightly lighter but still luscious.
The Midnight Snack
Add a pinch of espresso powder to the chocolate mixture for a mocha twist. The coffee flavor deepens the chocolate notes and gives the mousse a subtle bitterness that balances the sweetness. Pair with chocolate shavings for an extra treat.
Storing and Bringing It Back to Life
Fridge Storage
Store the finished tart in an airtight container in the refrigerator for up to 3 days. The mousse will stay silky, and the crust will remain crisp. When you’re ready to serve, let it sit at room temperature for 10 minutes to soften slightly.
Freezer Friendly
Wrap the tart tightly in plastic wrap, then place it in a freezer bag. It can be frozen for up to 2 weeks. Thaw overnight in the fridge before serving. The texture holds up well, though the crust may lose a bit of crispness.
Best Reheating Method
If you need to warm the tart, place it in a preheated oven at 300°F (150°C) for 5 minutes. This gentle heat will revive the mousse without drying it out. Add a tiny splash of water to the bottom of the pan to create steam and keep the crust moist.